Making the Weaving and into the Balabal Dress
Oh the weaving process. Probably the most overwhelming task out of any of my work. Suddenly, I had to unlearn the past few years to make this garment happen. It’s not that I don’t need planning. It’s just a different planning than pattern making. Maths were involved, especially dealing with stretch fabrics. However, the percentage of the stretch doesn’t necessarily work the same way as patternmaking with a stretch fabric as it is dependent on the tension I apply it. All explained in the video. As I’ve never done any textiles paper, except for embroidery, I didn’t know where to start. Everything is laid out open for me to pick and choose and decision making is my weakest trait. I’ve learned to make faster decisions than I previously have ever because of the personal deadlines I gave myself. Part of those decisions were loom making, colors and method. And whether I make a pattern out of the colors or make it free flowing.
The loom was hand made. 1m x 1m but I placed one of the edges about 70cm. As I needed 50cm length, I thought this was enough for the stretch. Turns out, I needed 10 more cm. Nails were placed 1cm apart, and this also had to be decided.
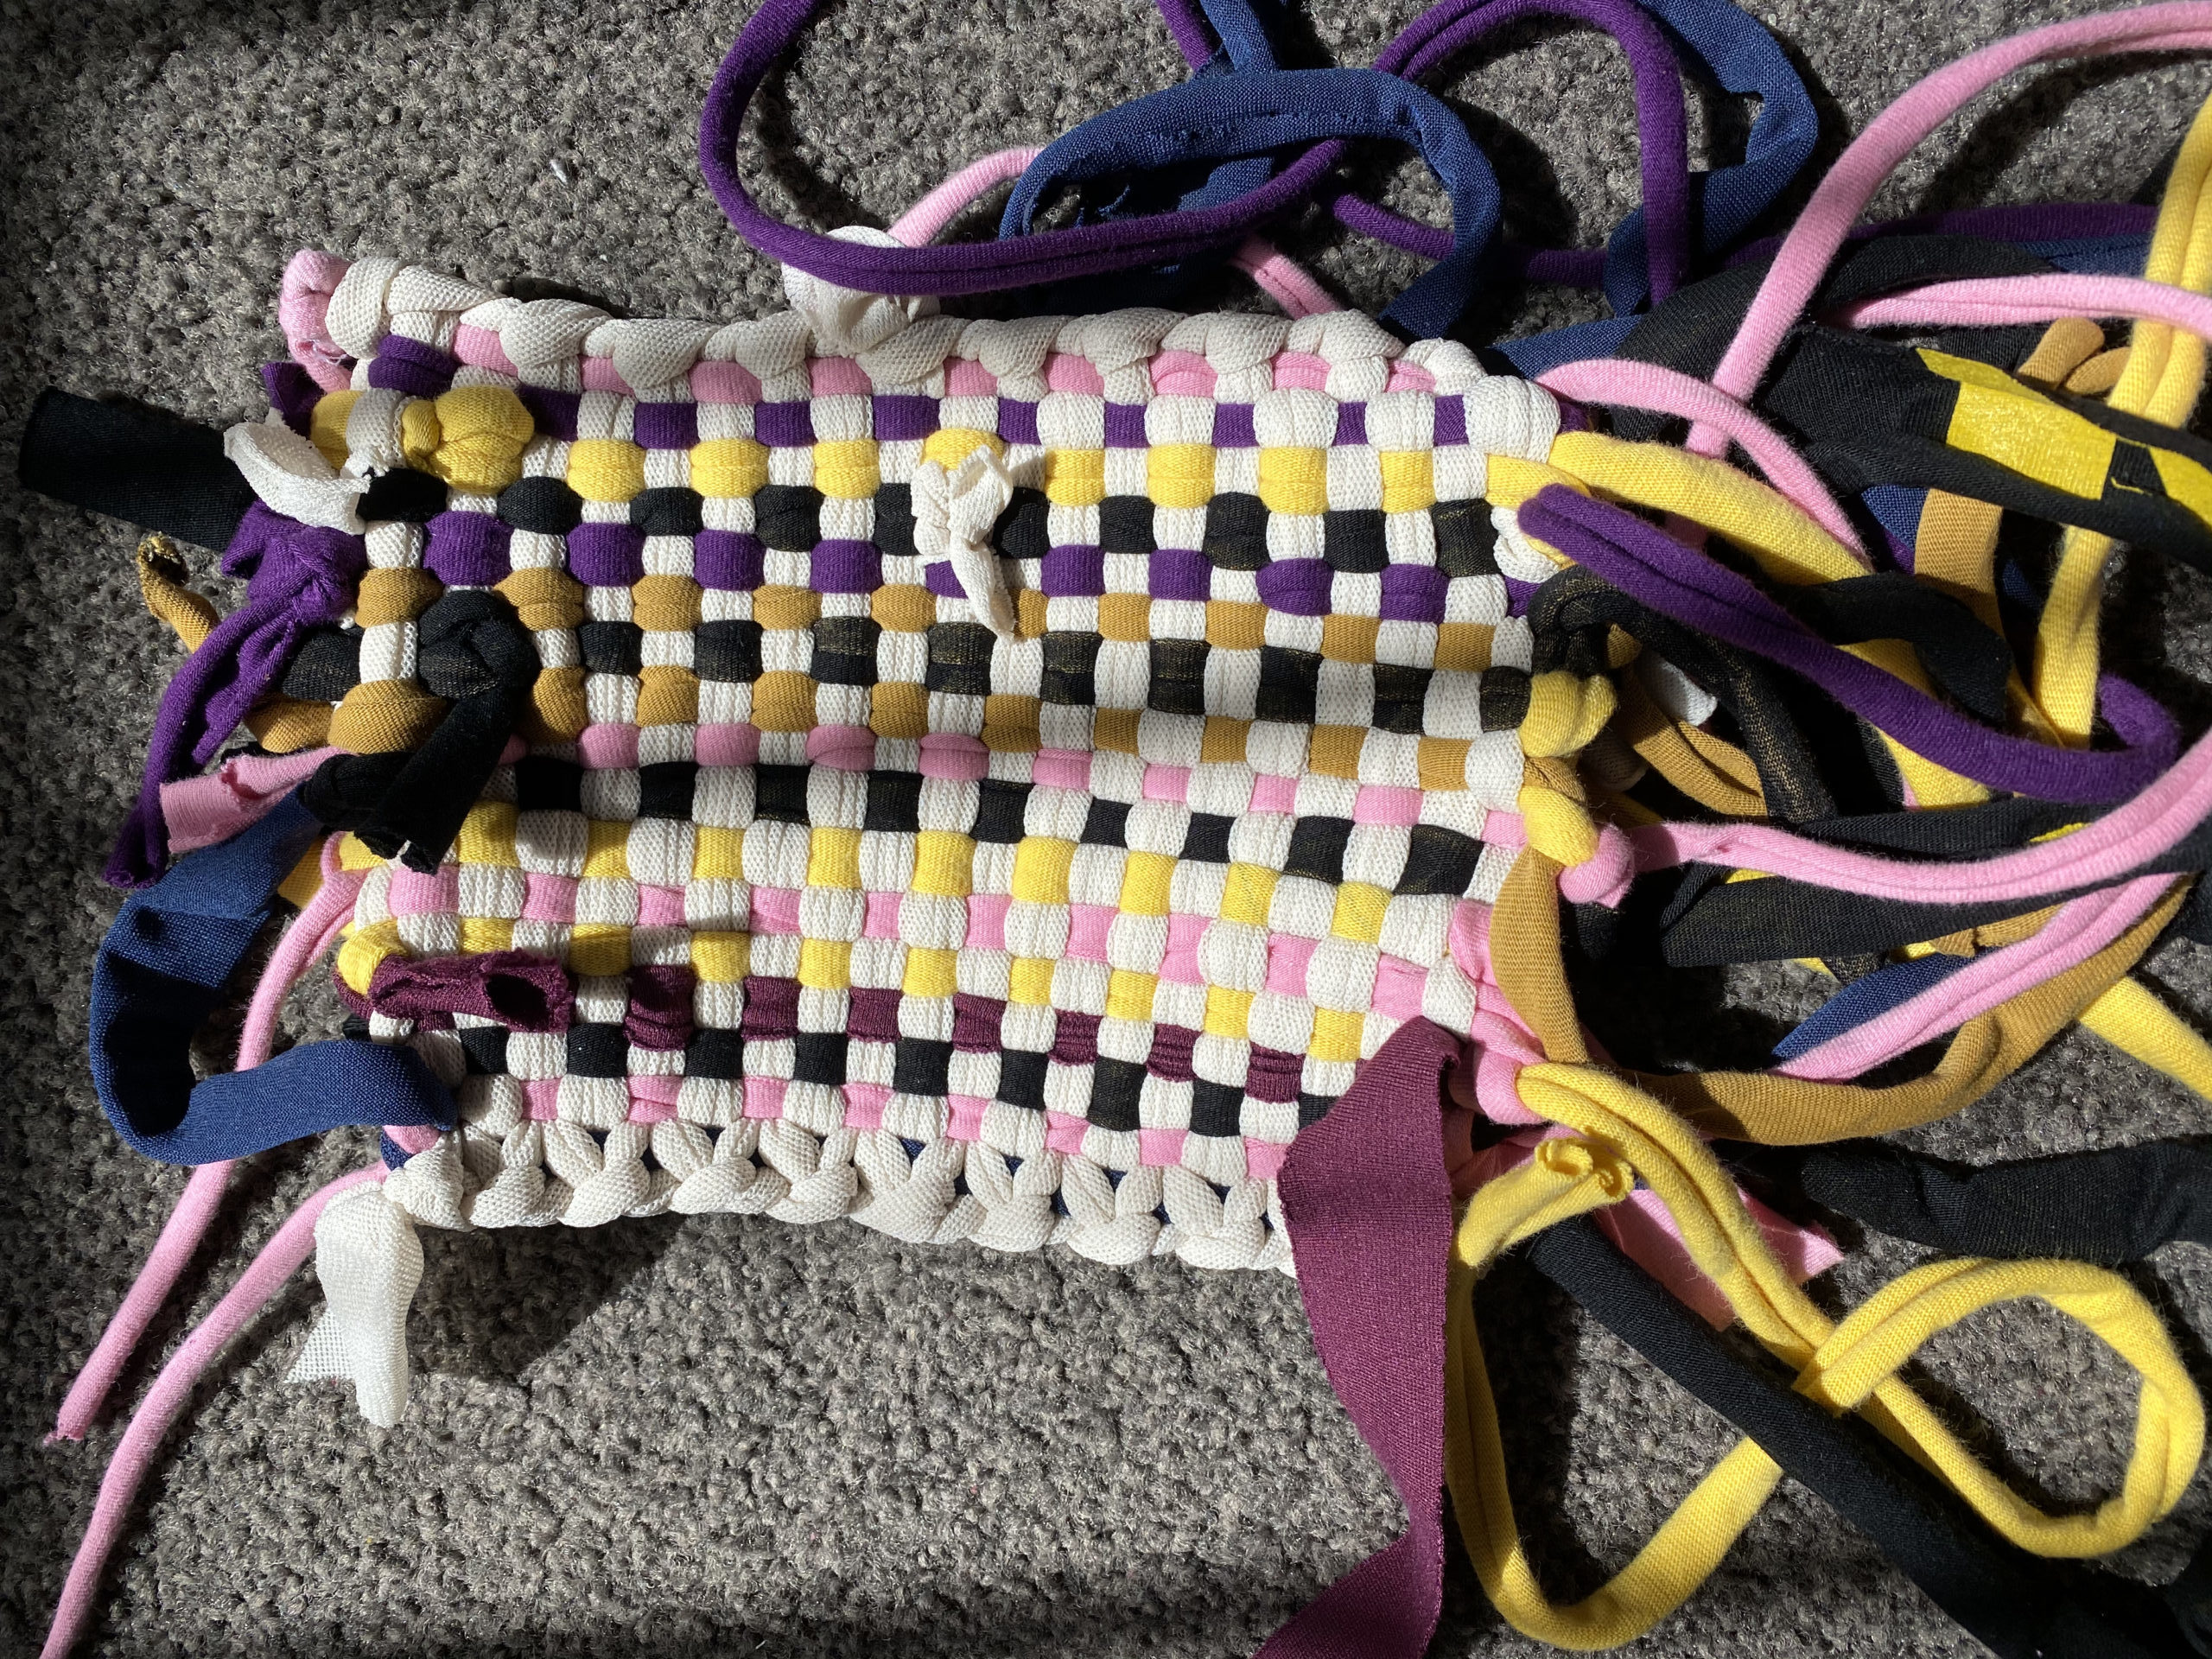
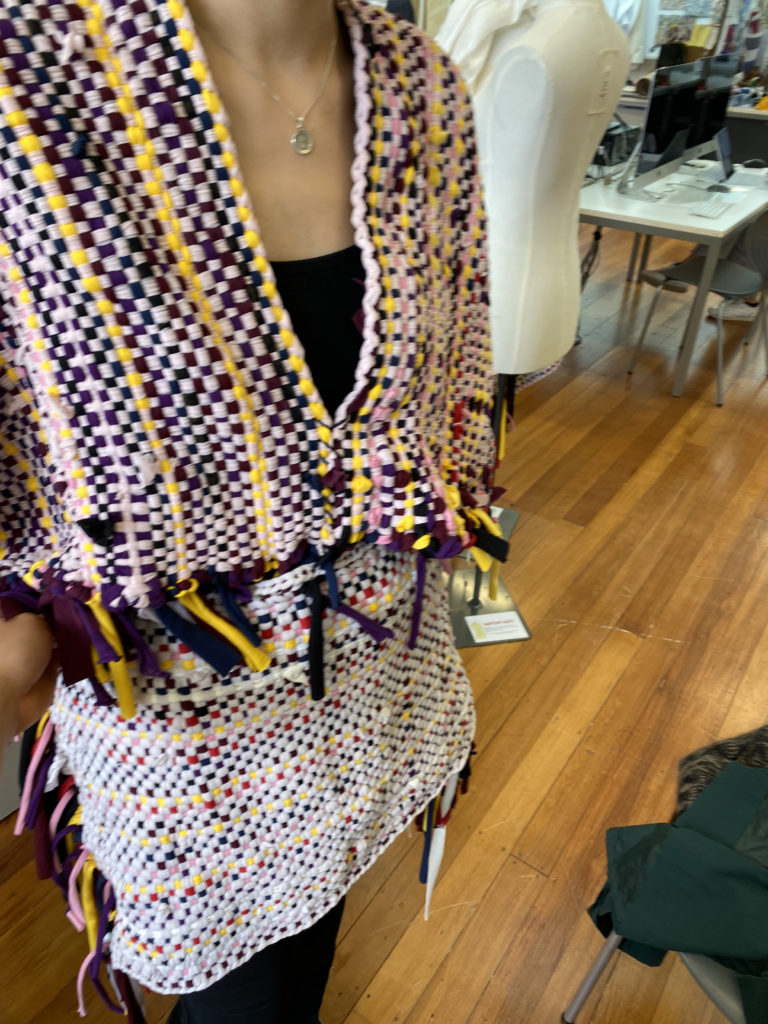
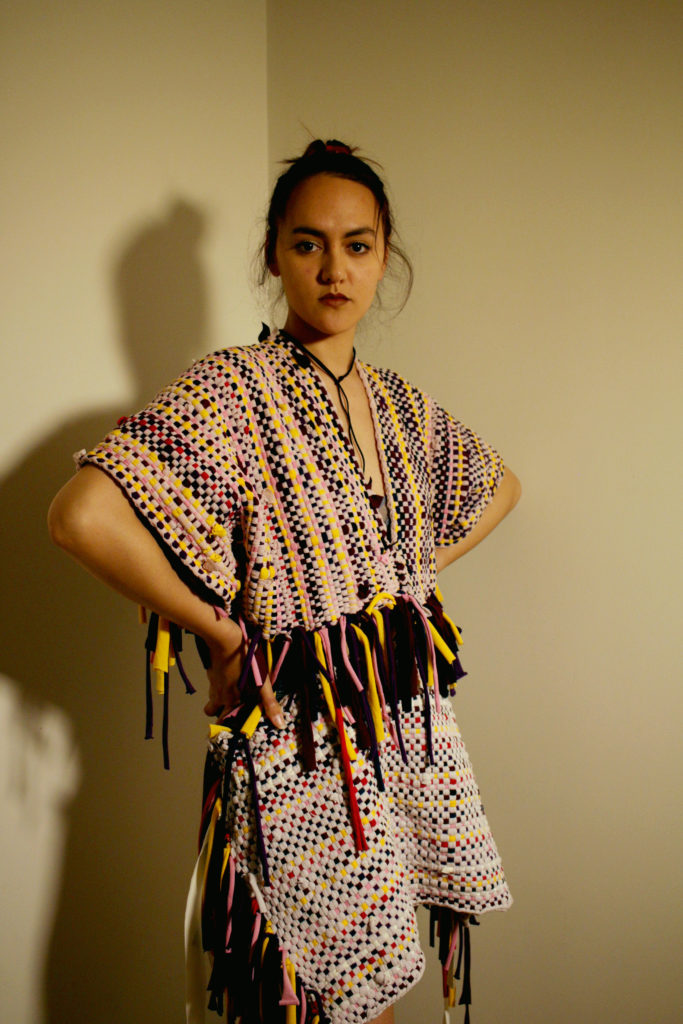
I’ve practiced and sampled this method in the first semester, however, I didn’t account for the little curve ball in the form of colors. I originally decided on using only old clothes to make the weaving as part of the sustainability angle of my project, and some old t-shirts are interwoven in the pieces, it wasn’t enough. With little time at the point of making the weave, sourcing old t-shirts that have colors that work together wasn’t practical. I had to go to a plan B of some sort. I went and bought new fabrics, sadly. And this was where my money went all over the place. I went and bought about .5 to 1 m of different color knit fabrics (weft), and 8 meters worth of pale lavender and pink knit fabric (warp). The colors I chose were more on the dark cool colors, shades of purples and blue. To brighten up the garment, I went for bright warm colors, such as yellow and red and pink. The warp stayed a single color. I wanted to portray the diversity and vibrant culture of the Philippines. For some reason, purple and yellow reminds me of the Philippines the most. Colors of the flag are also in there.
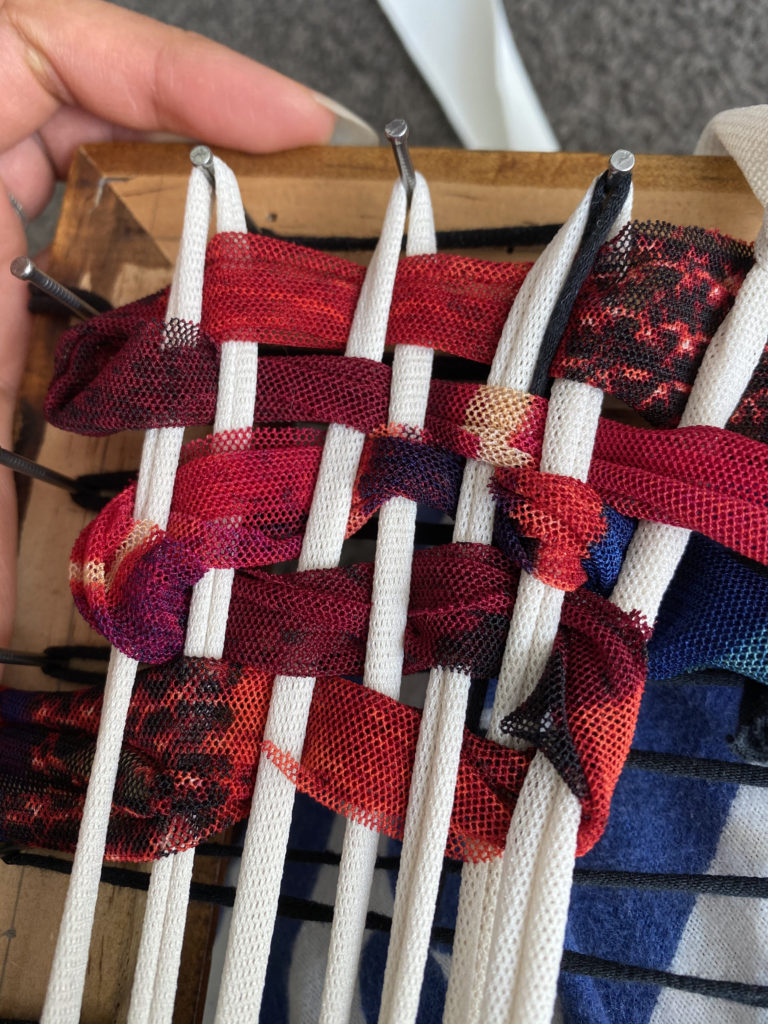
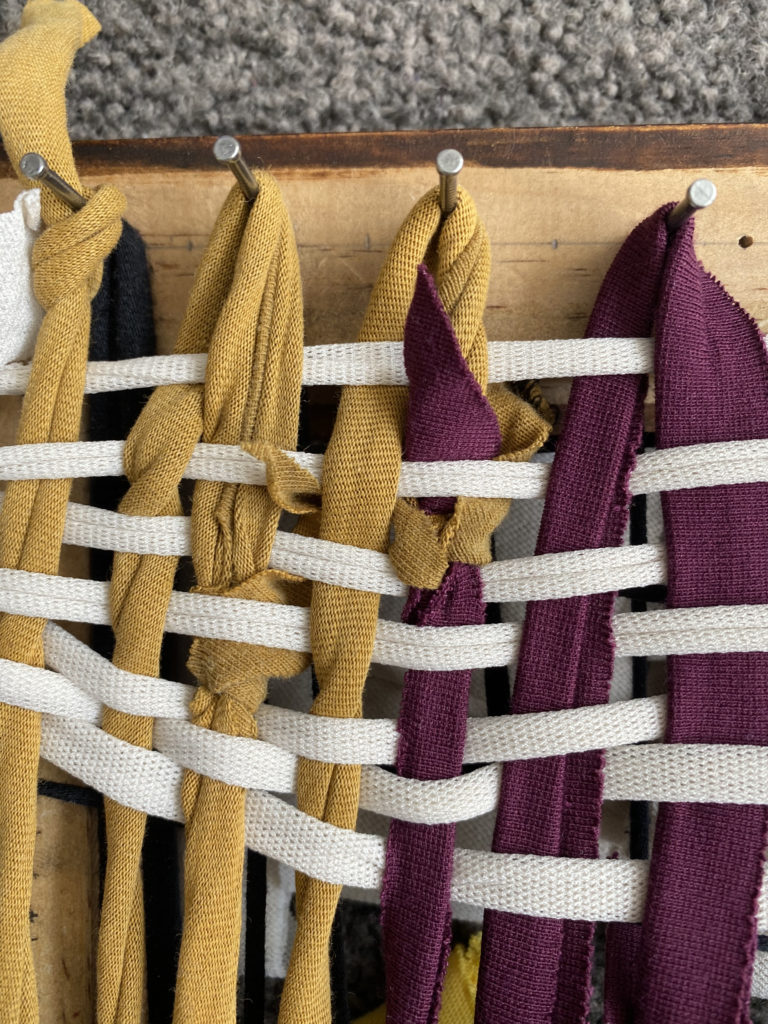
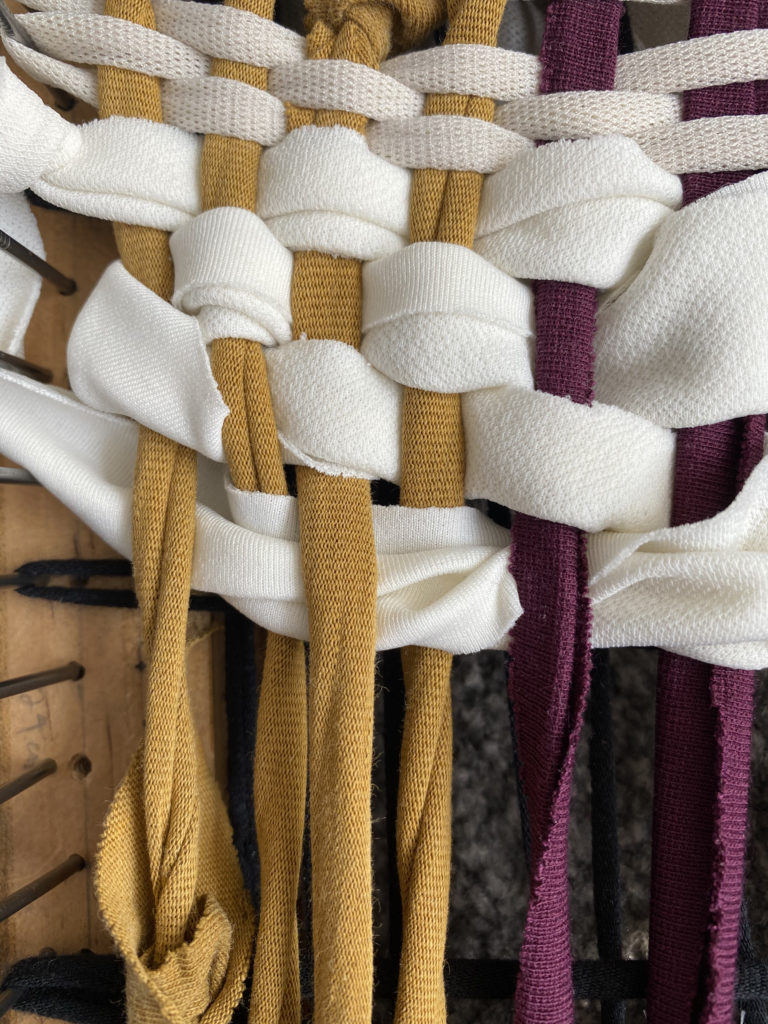
There were two methods that were at play here. First was the typical method which involves longer strips of fabric on all sides of the weaving. The second, which I ended up using, is a continuous strip of warp fabric, then pieces of strips along the weft. This became the choice because it allowed the weaving to drape more.


I put together this video so I can show how the weaving was done. Writing a it down will be a mission. Here’s the process of how the weaving happened.
Making the Dress
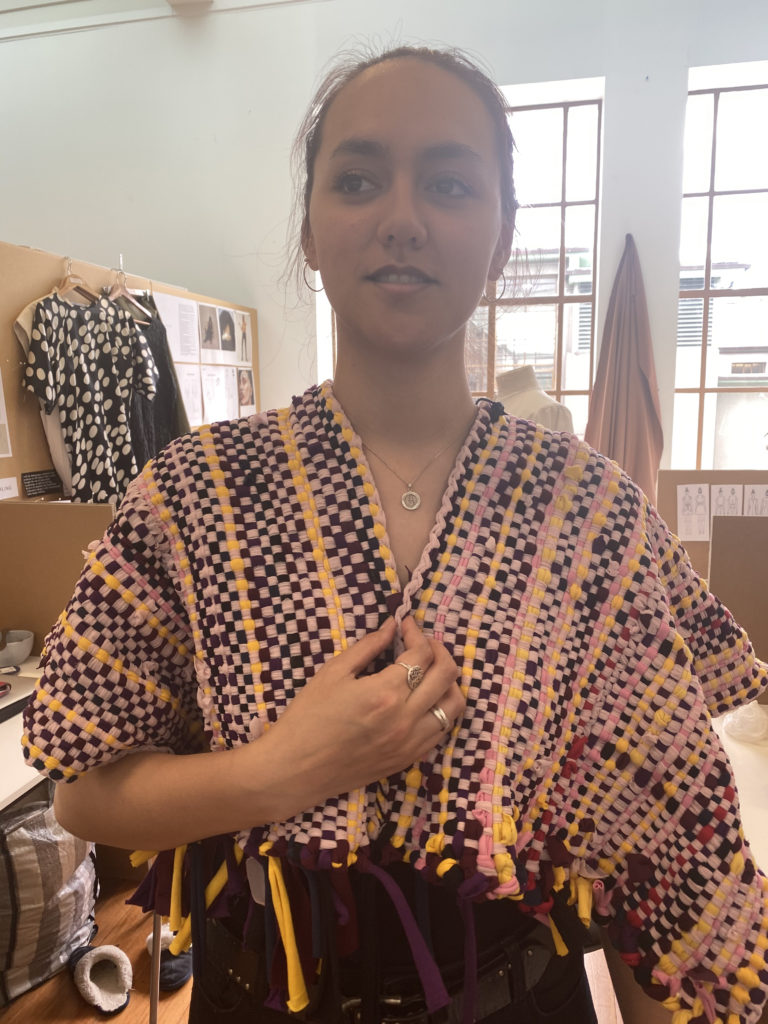
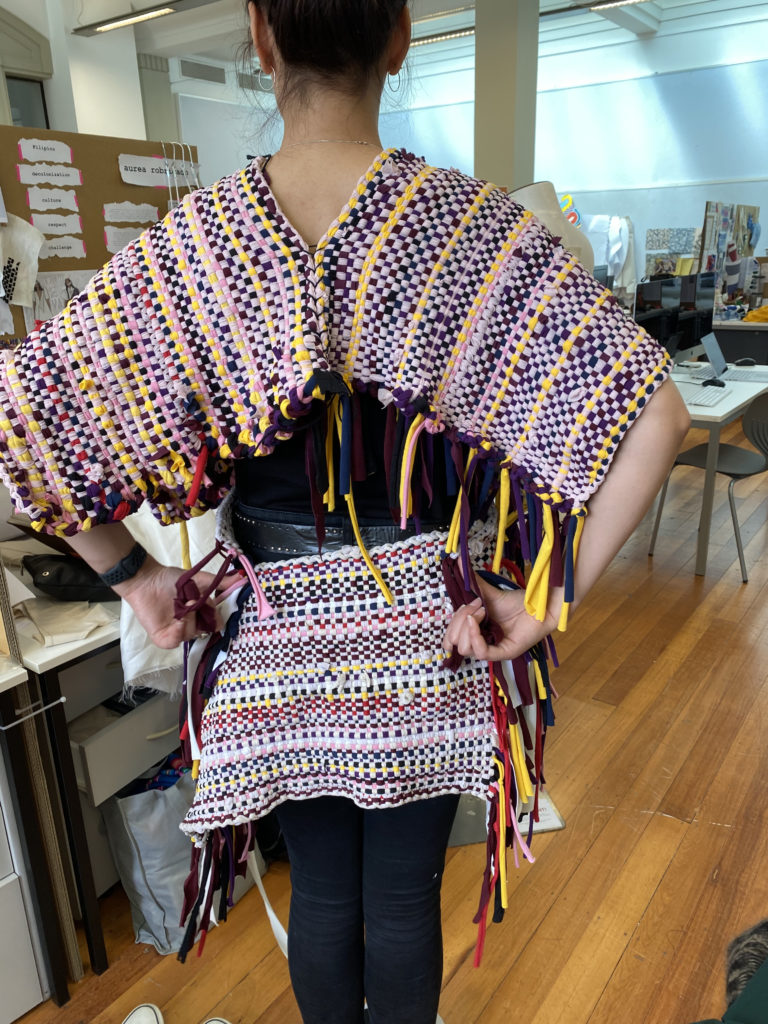
As there were no pattern making involved, draping was the best way to put the whole garment together. I popped two panels on a mannequin, and closed the ends, leaving the middle unattached for the head to go through. From there I decided where and how other panels will go. I had to make sure that the back is also is covered. Or maybe lengthen. Those were some of the things I had to think about.
The finished product happened while the photoshoot was happening. While the other garments were being photographed, I was “sewing”my model into the dresss. I used more strips of fabrics to attach ends together and close the garment shut. It’s zero waste, in terms of panels, as they remained the rectangle as woven, but instead of cutting the shape in the whole width of the fabric, I added to make the pieces, making the rectangle work for the body.
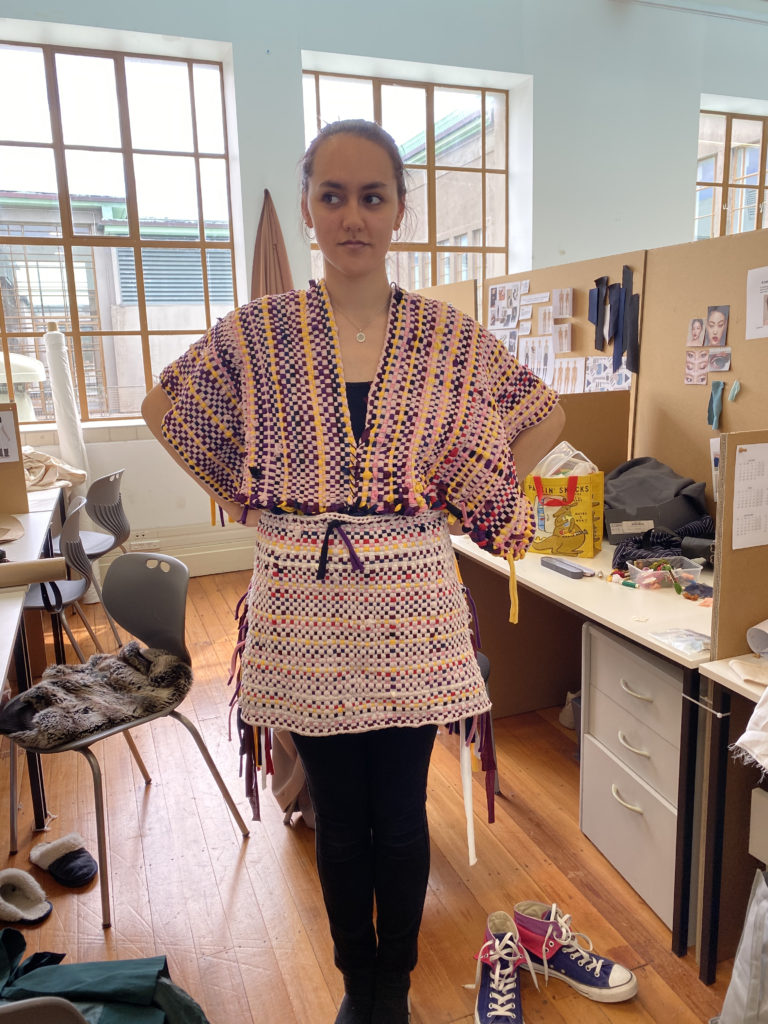
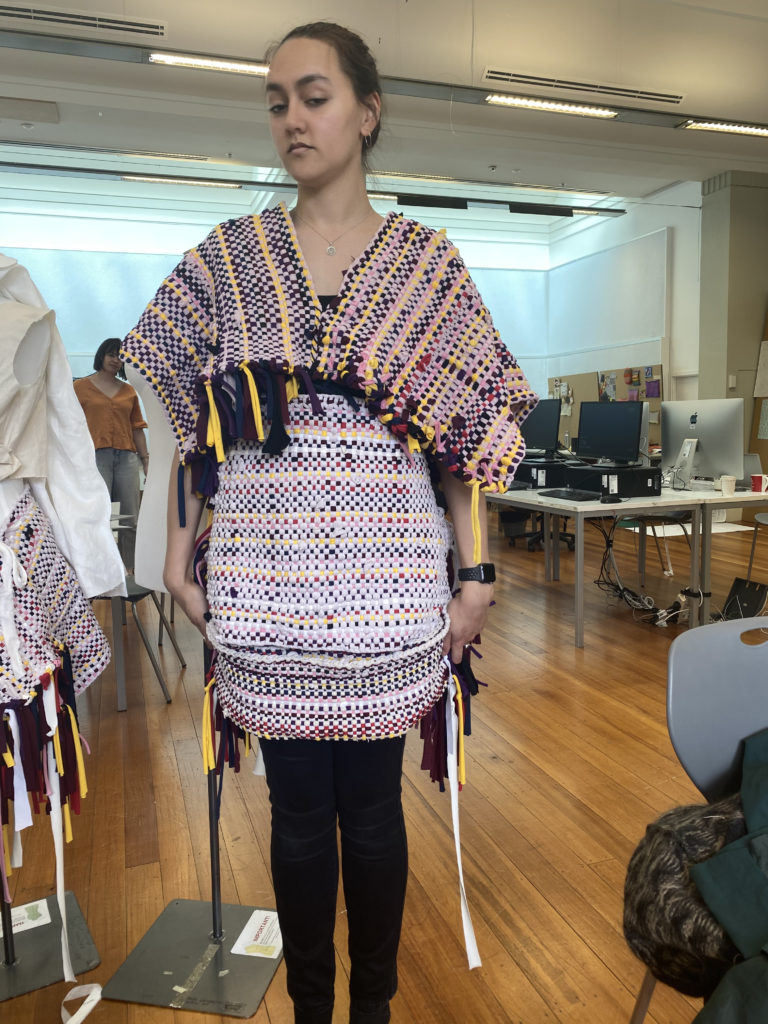
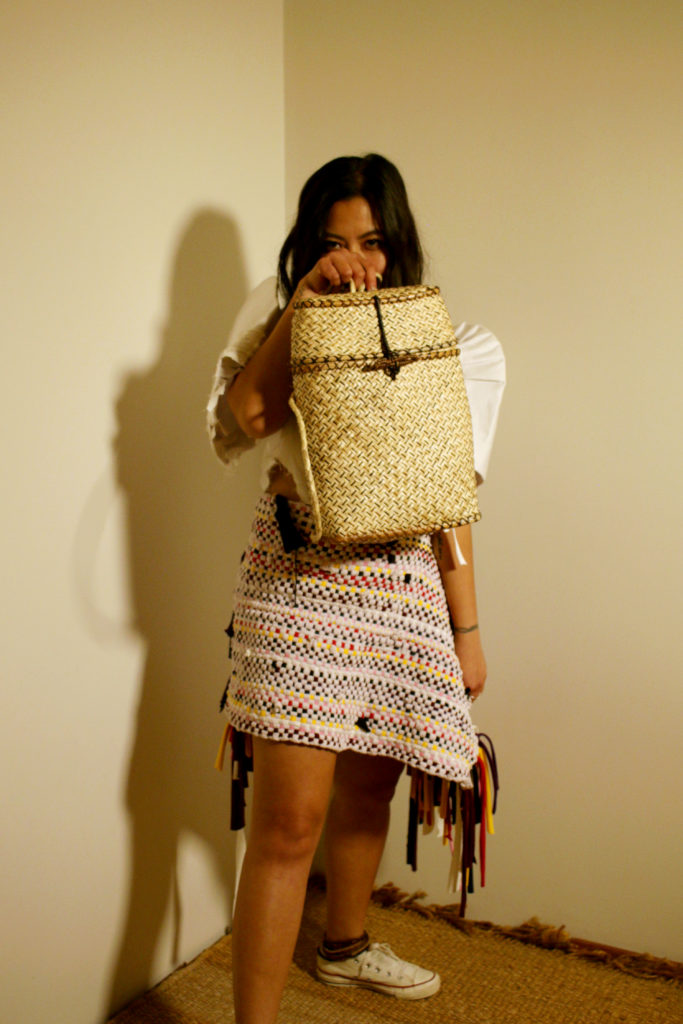
Making the Skirt
The skirt went through the same method of “sewing” my model into the skirt draping two panels, attached to one side, and closing in at where the other ends with a strip of fabric. I have no image of how this was done, however, it is pretty straight forward as seen in the final photos below
No Comments