Terno Sleeve Pattern Making
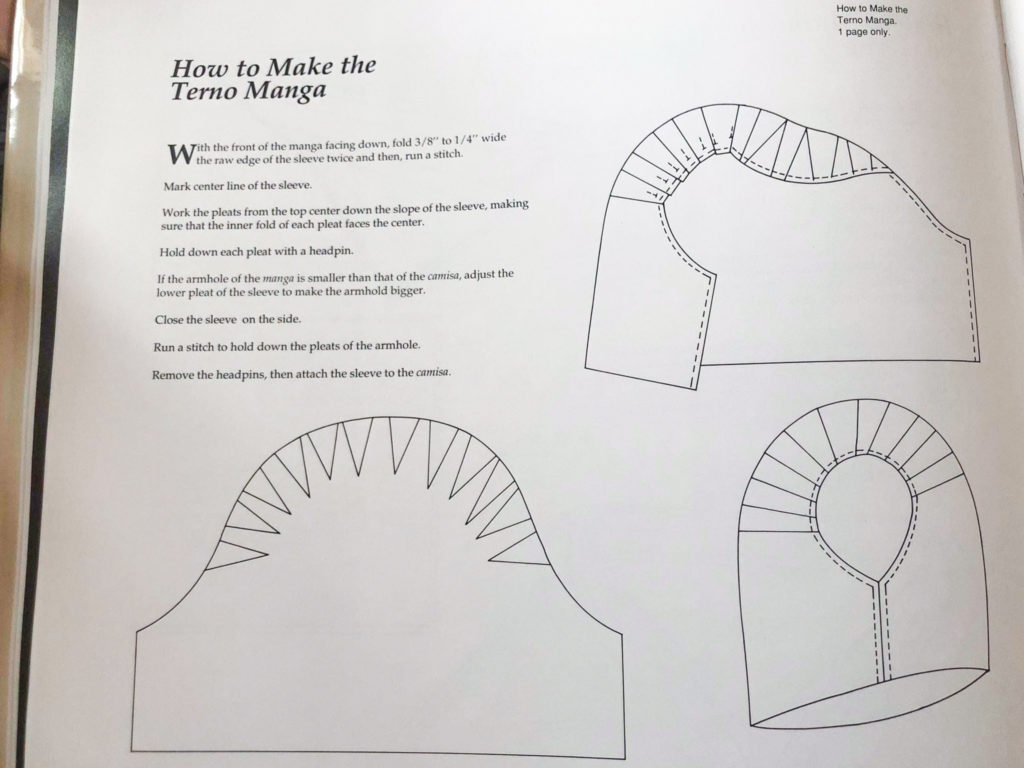
After years of rummaging the Internet for tutorials and information on how to make a Terno sleeve, I have finally found the best tutorial that show how to pattern make and also sew this sleeve. I also bought a book (still in the possession of my sister in the Philippine, in which she took photos of important pages for me to study) that show patterns of various Filipiniana dresses throughout history. It includes information on the how to make, maintain and the art of the terno manga (terno sleeve). This book is available for purchase at Artbooks.ph.
I’ve applied the instructions onto CAD, which was not as hard as I thought it would be.
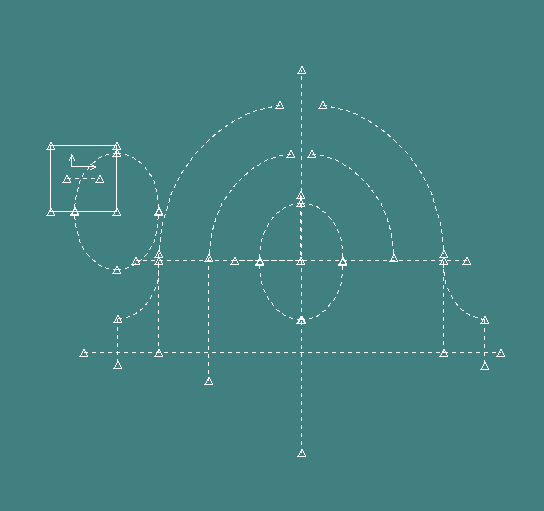
I took the arm scye measurements and divided it by four. That dictated the quarter circle seen on the square on left side image. I then copied this curve line to complete the oval shape. This has become the template for the rest of the sleeve. The top half was overset about 3 inches, and then again another 3 inches. The quarter half of the oval was traced to complete the sleeve at the arms and everything was closed with straight lines.
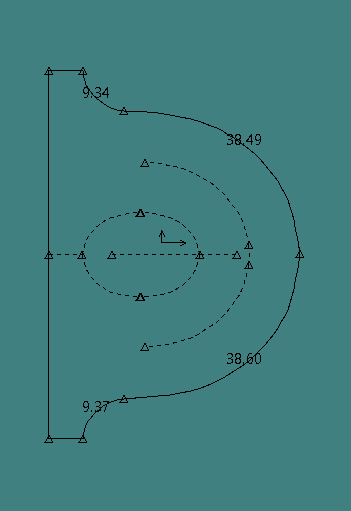
I added the pleats by hand after cutting the fabric, in which I used it to create the notches for the final pattern. Traditionally, 11-13 pleats are created to build the curve of the sleeve. There are many other ways to create the sleeve, however, for this collection, I wanted to emphasize the tradition amongst the modernity of the rest of the design.
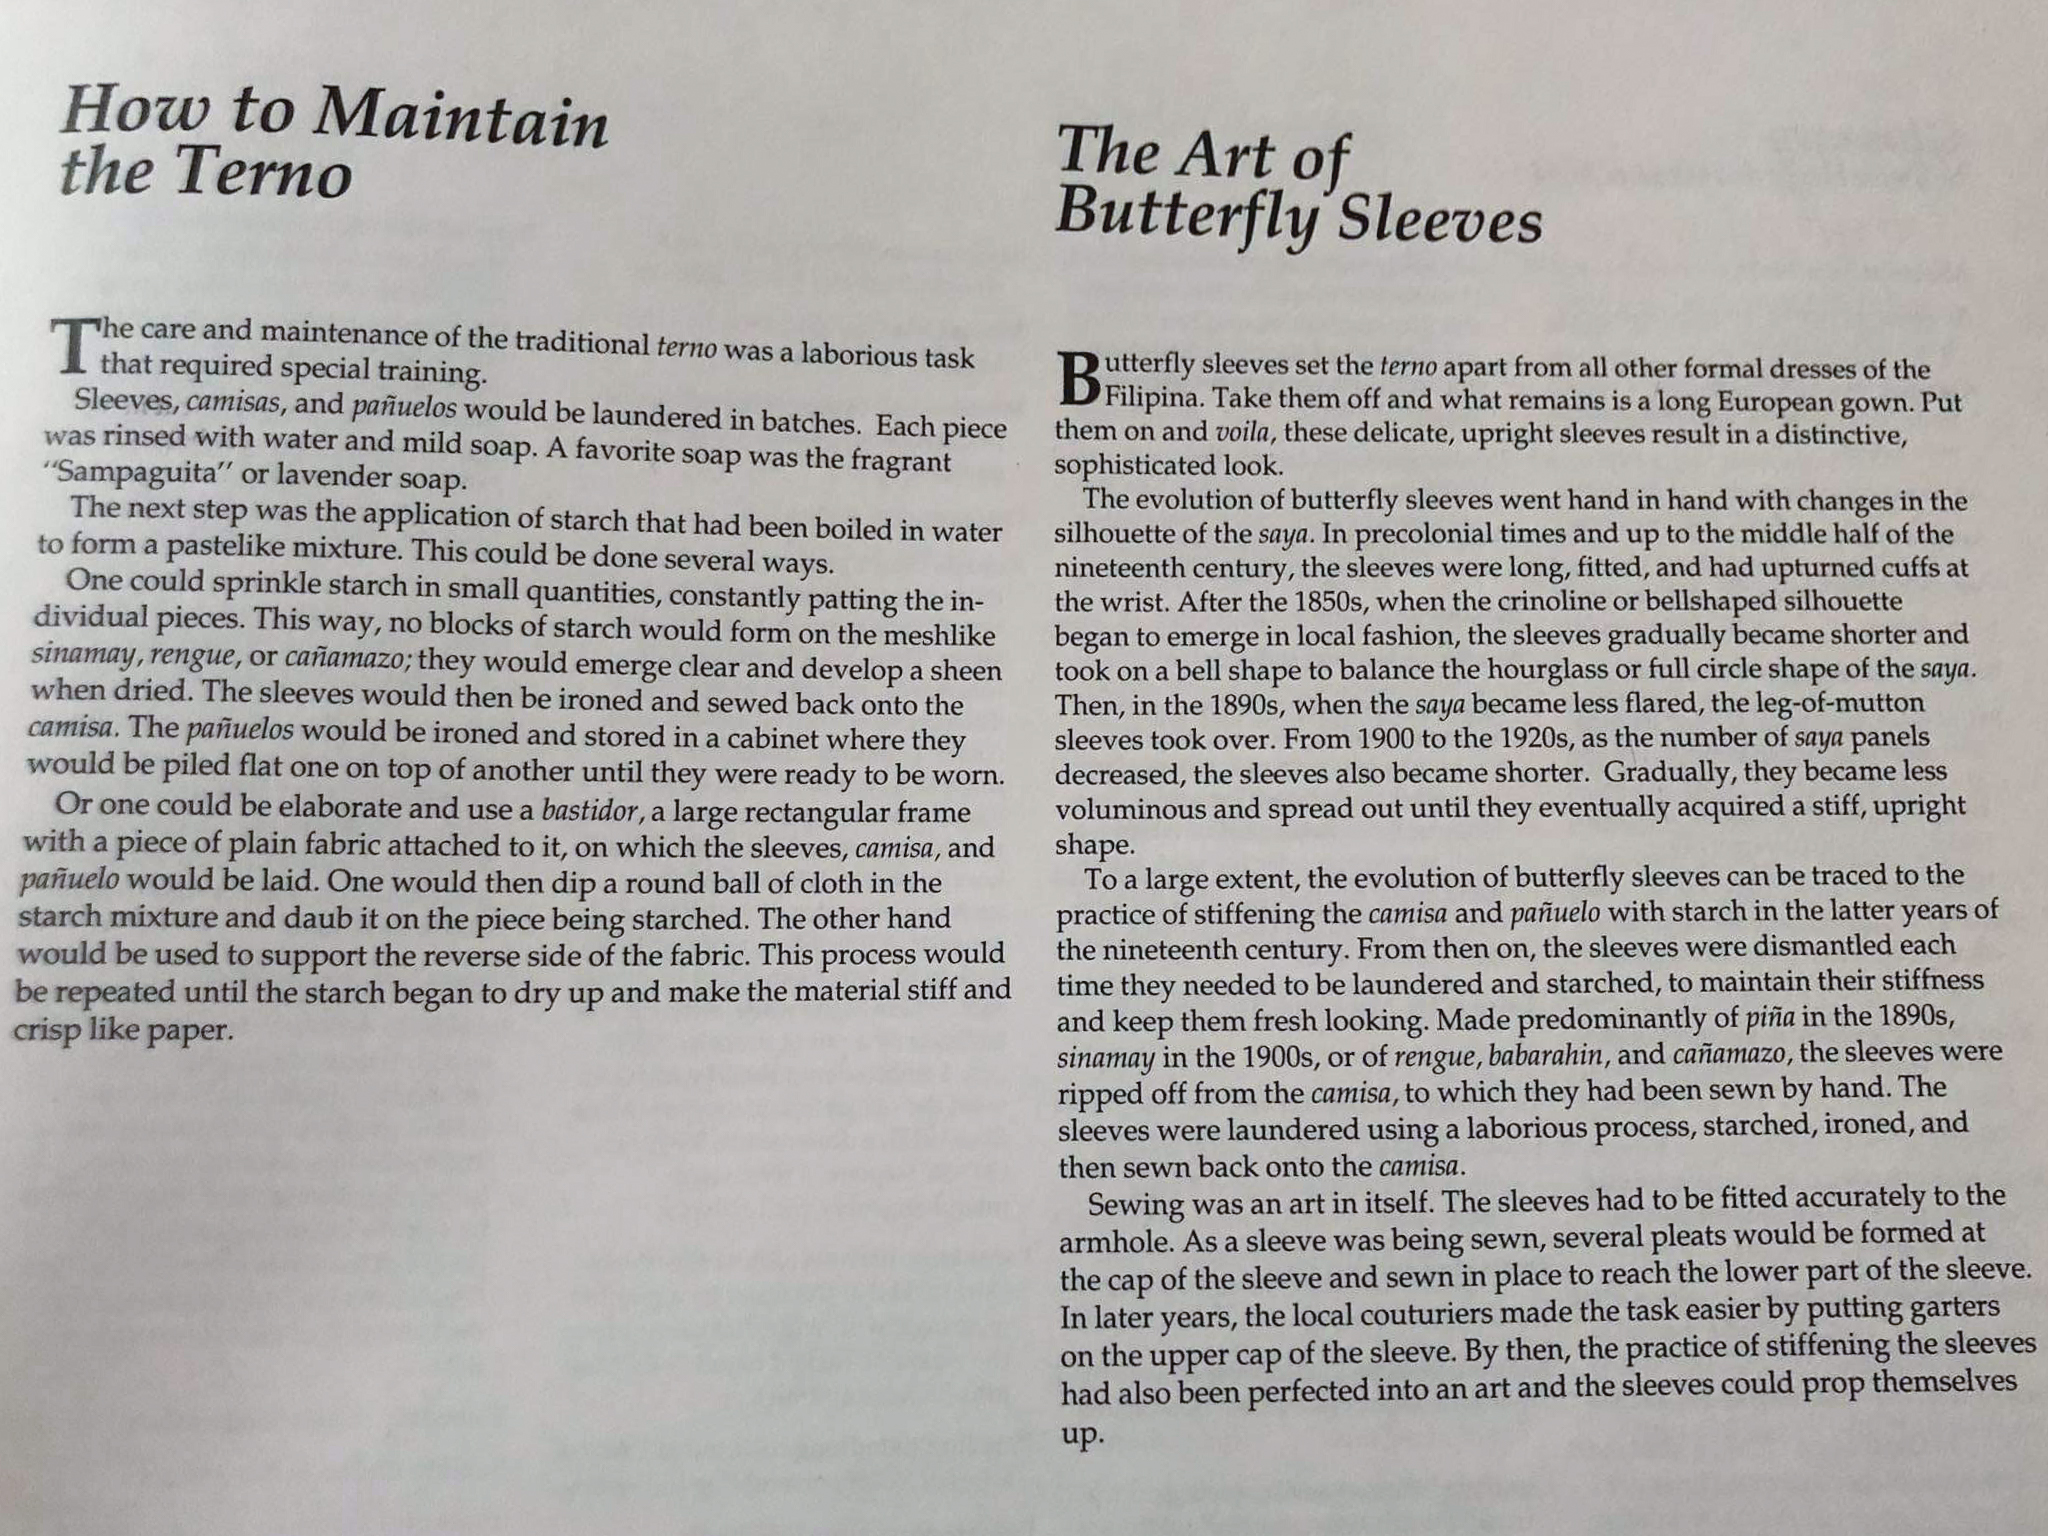
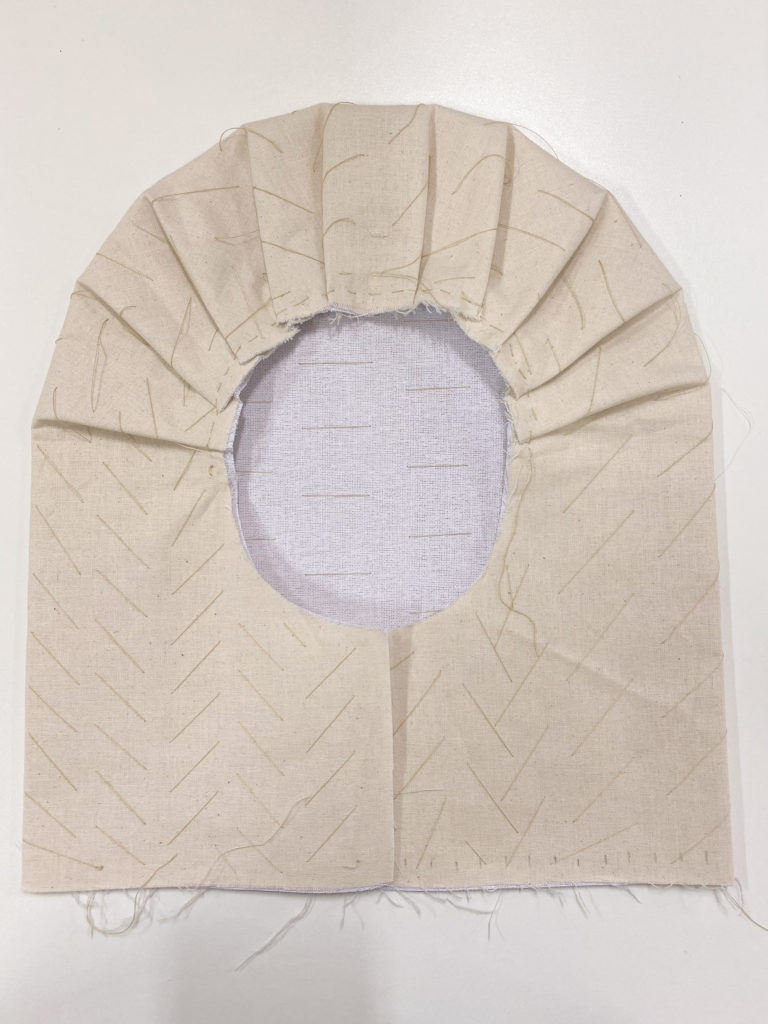
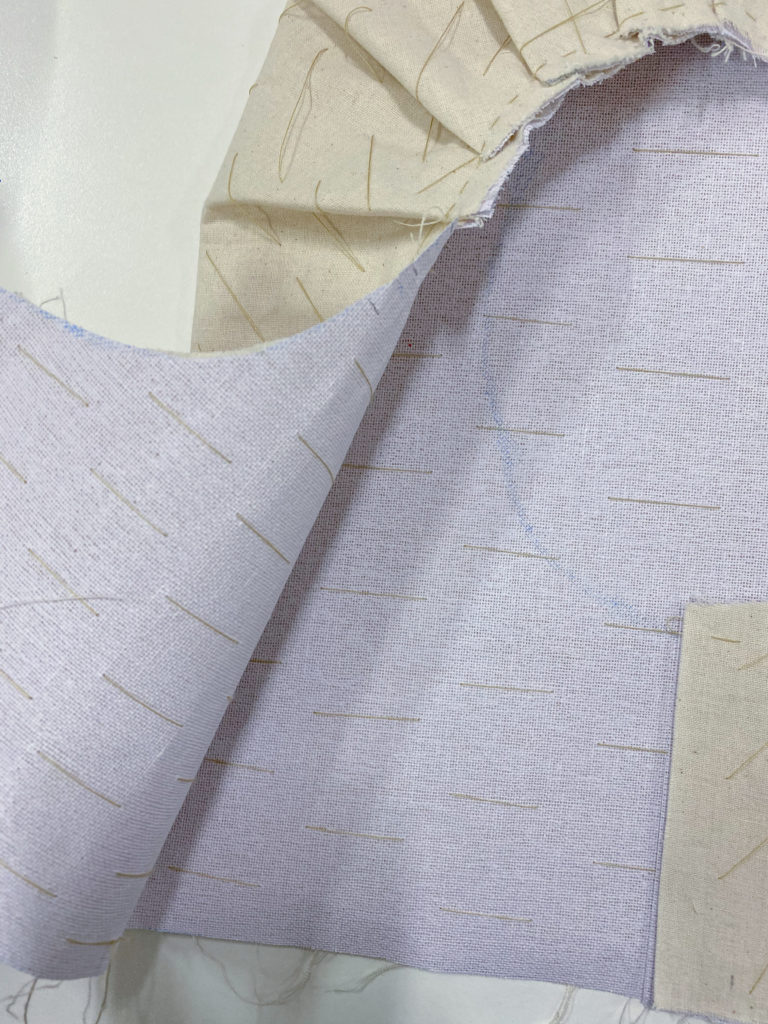
This is the first sample of the sleeve using __ fusing. The result show a stiff sleeve, and although it does the job, it can look better. The cardboard-like stiffness also creates certain creases to the sleeve that makes the sleeve look cheap and craft like – far from what the sleeve should portray. I also, if possible, want to omit the glue on fusible for a more sustainable reason. The glue on fusible changed the look and feel of the fabric. I then tried three other interfacings to trial the sleeve stiffness without being too cardboard-like.

1. This one is using Buckram
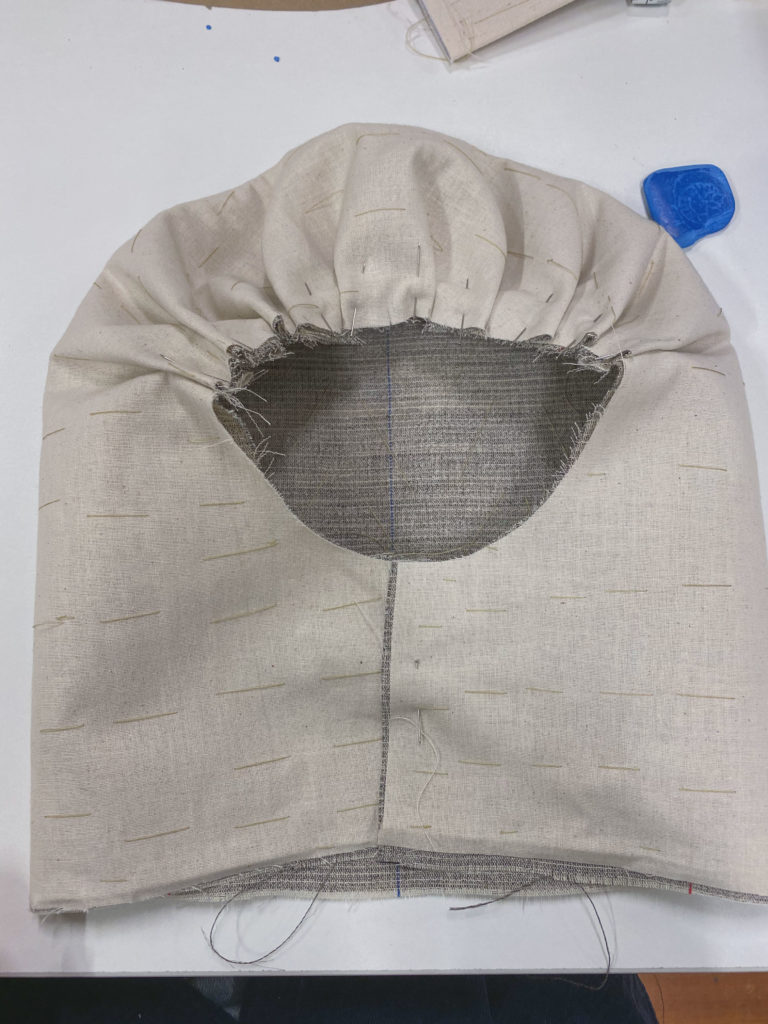
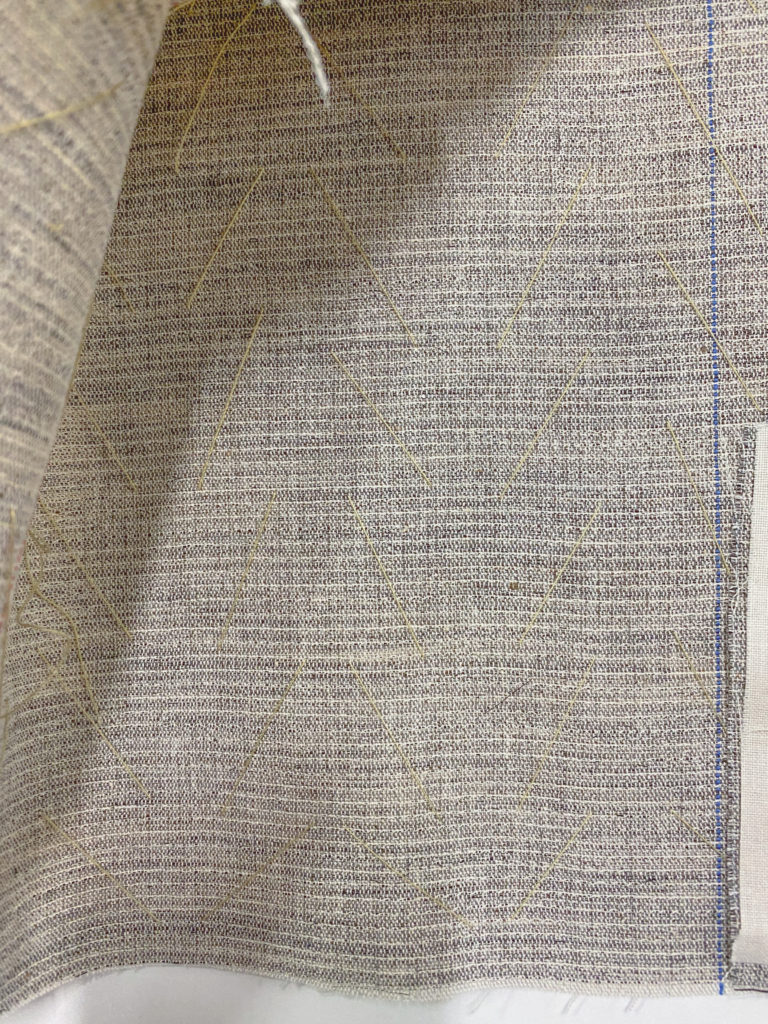
2. This one is using hair canvas interfacing.
3. This last one is using sew-in interfacing.
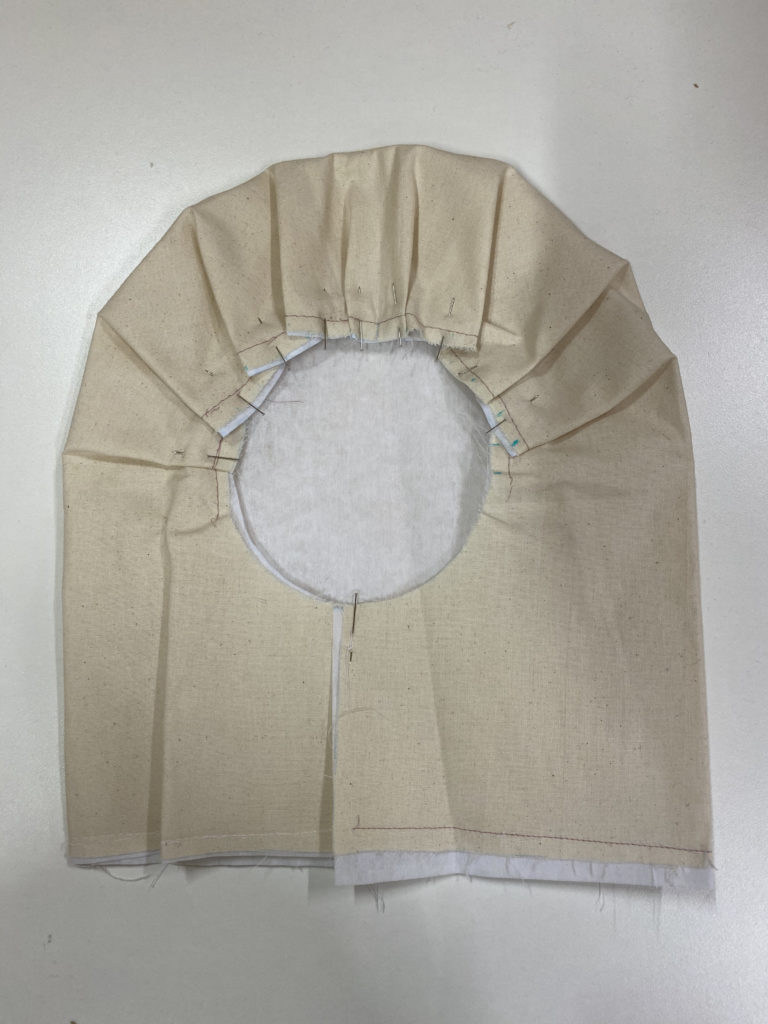
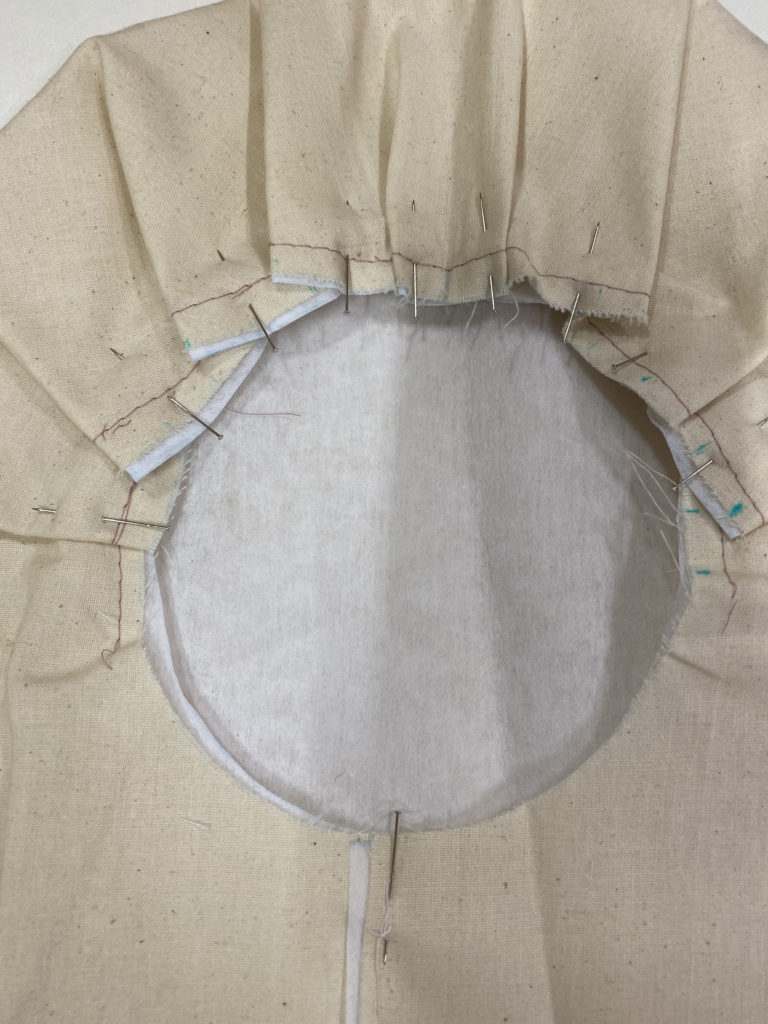
All are using a basting technique to hold the pieces together before it gets attached to the bodice of the garment. There is no need to do extensive basting such as the first two sampled, it only needs to attach using straight stitches at the seam allowance, which was used as a technique on the third sample. While both choices create the sleeve look acceptable to the traditional terno, buckram creates the best look that has both stiffness of the shape and softness at the curve.
I have a friend that is participating in Pilipino fashion Co tests and she asked me to made her the sleeves to the gown she will wear. Could you sent me your pattern. Or let me know if you would. I can pay for it.
Please answer and we go from there.
Hiya! Sounds exciting. If still needed let me know, email me at auierob@hotmail.com
hello may I email you as well please? I would like to learn this as my first project. I wish to wear a terno for my husbands army ball
i would like to have a pattern of the sleeve. or the whole bolero
Could you send me your pattern. Or let me know if you would. Im willing to pay what you want
Thank you
Hi! I am a Textile design student studying in Central Saint Martins, London. I am half filipino and I wanted to try this out for my final graduate project! I was wondering if I could get the pattern for this please! Would be greatly appreciated 🙂