Finalizing the Barong Dress patterns & Making the Final

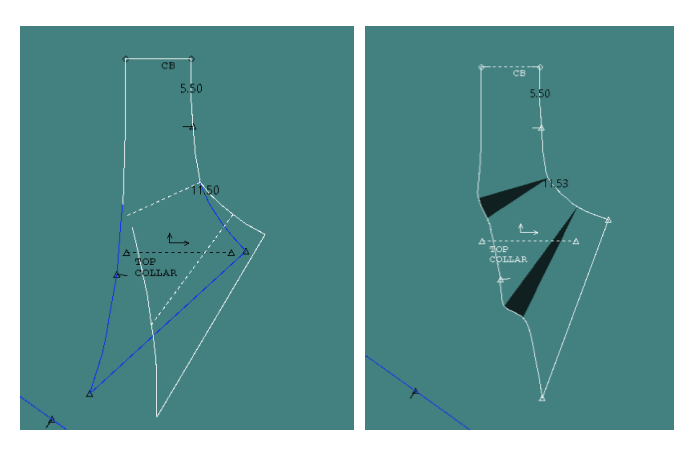
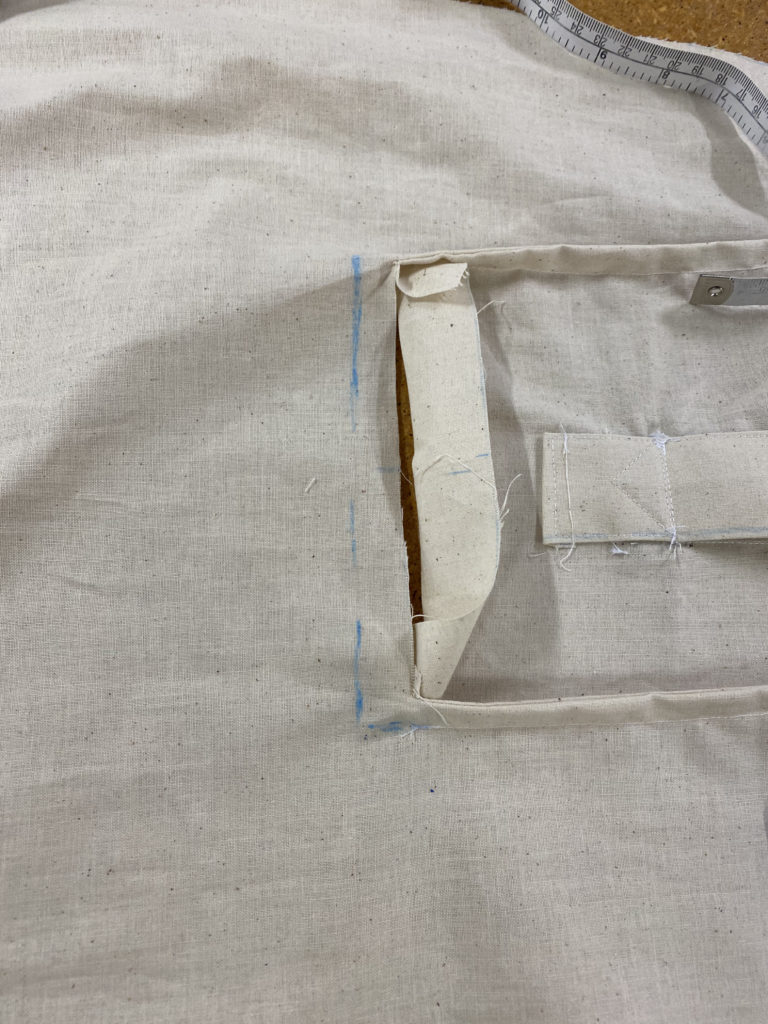
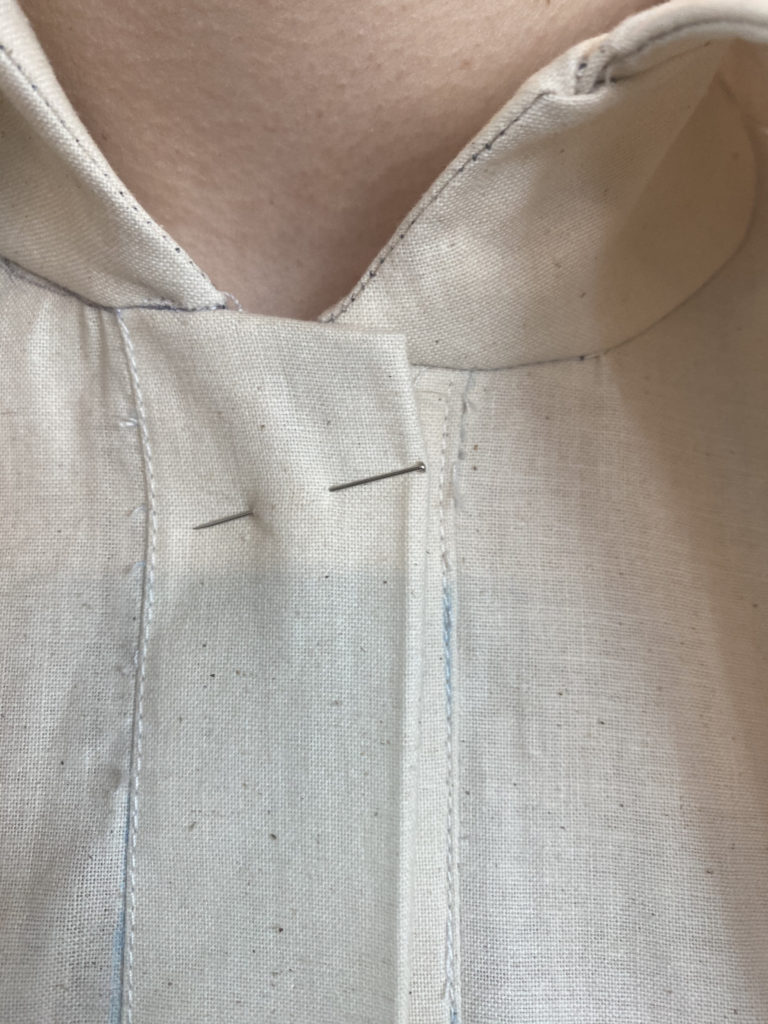
I have final arrived at the design I’m hoping. Therefore, what’s left was to clean up the patterns for the final garments to make and submit. The placket I first toiled with didn’t have enough length to cover the raw edges. So I just added extra length.

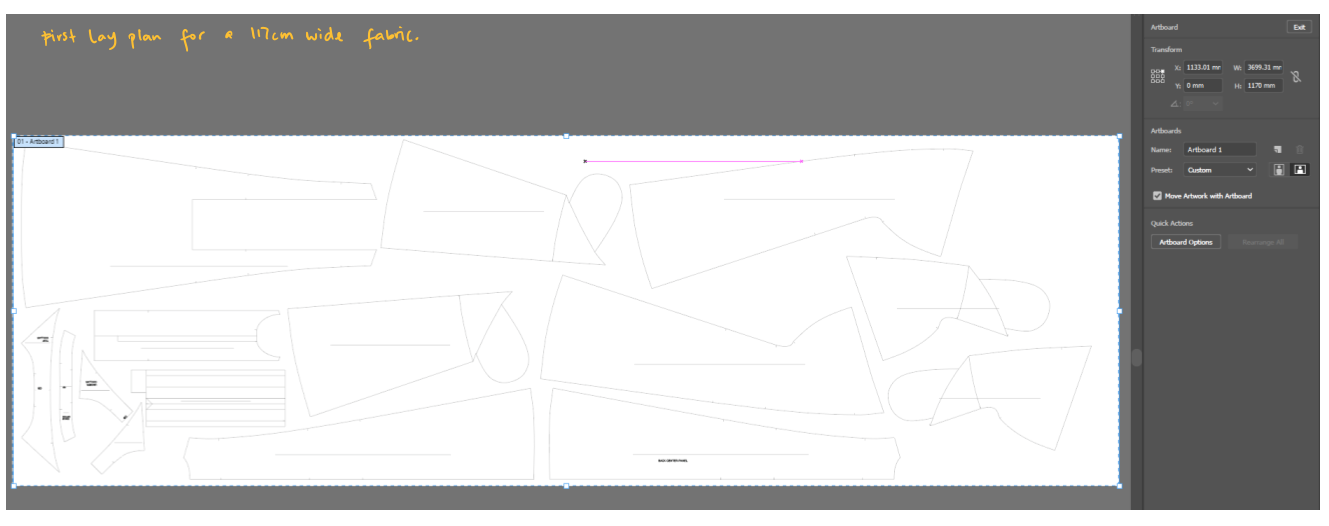
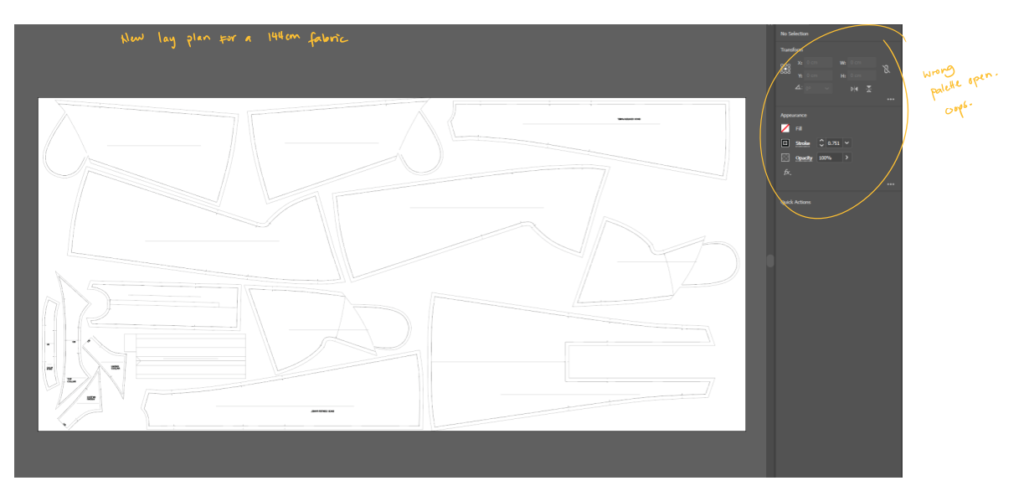
Below is the first two layplan created for two different fabric widths. The first was the original silk/linen choice I wanted but was too expensive. Then I found my final pure linen piece. Just like with the Terno lay planning, using Illustrator was faster and easier for me to use for the time to work on the pieces.

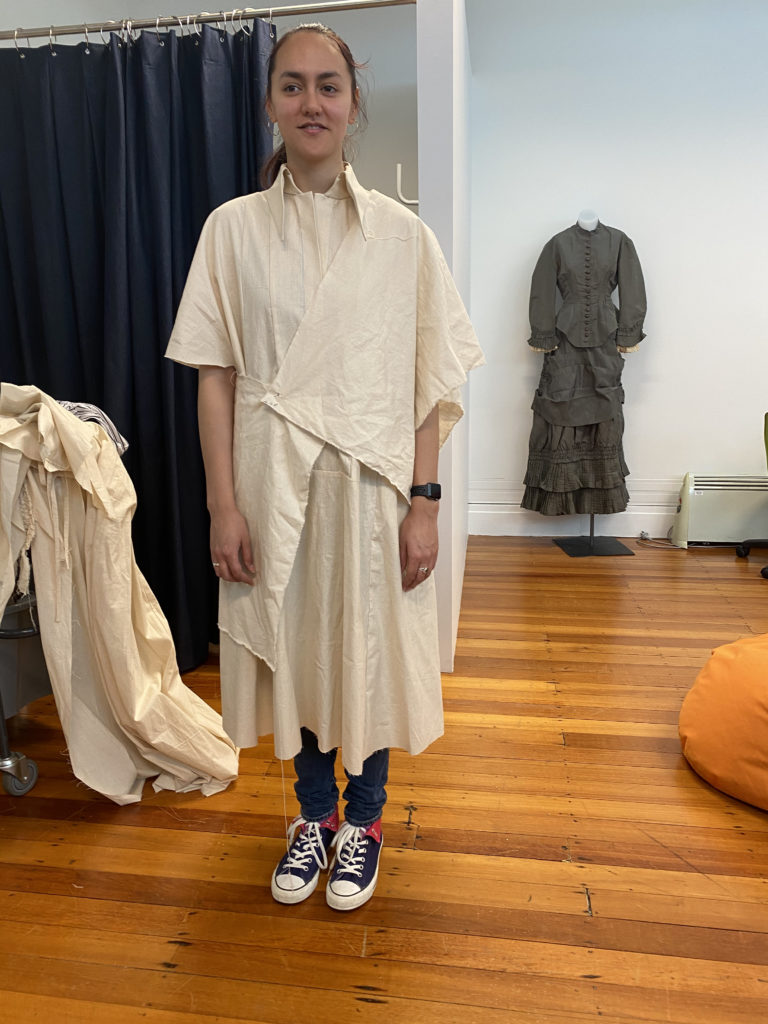

Making The Final Garment… and mishaps
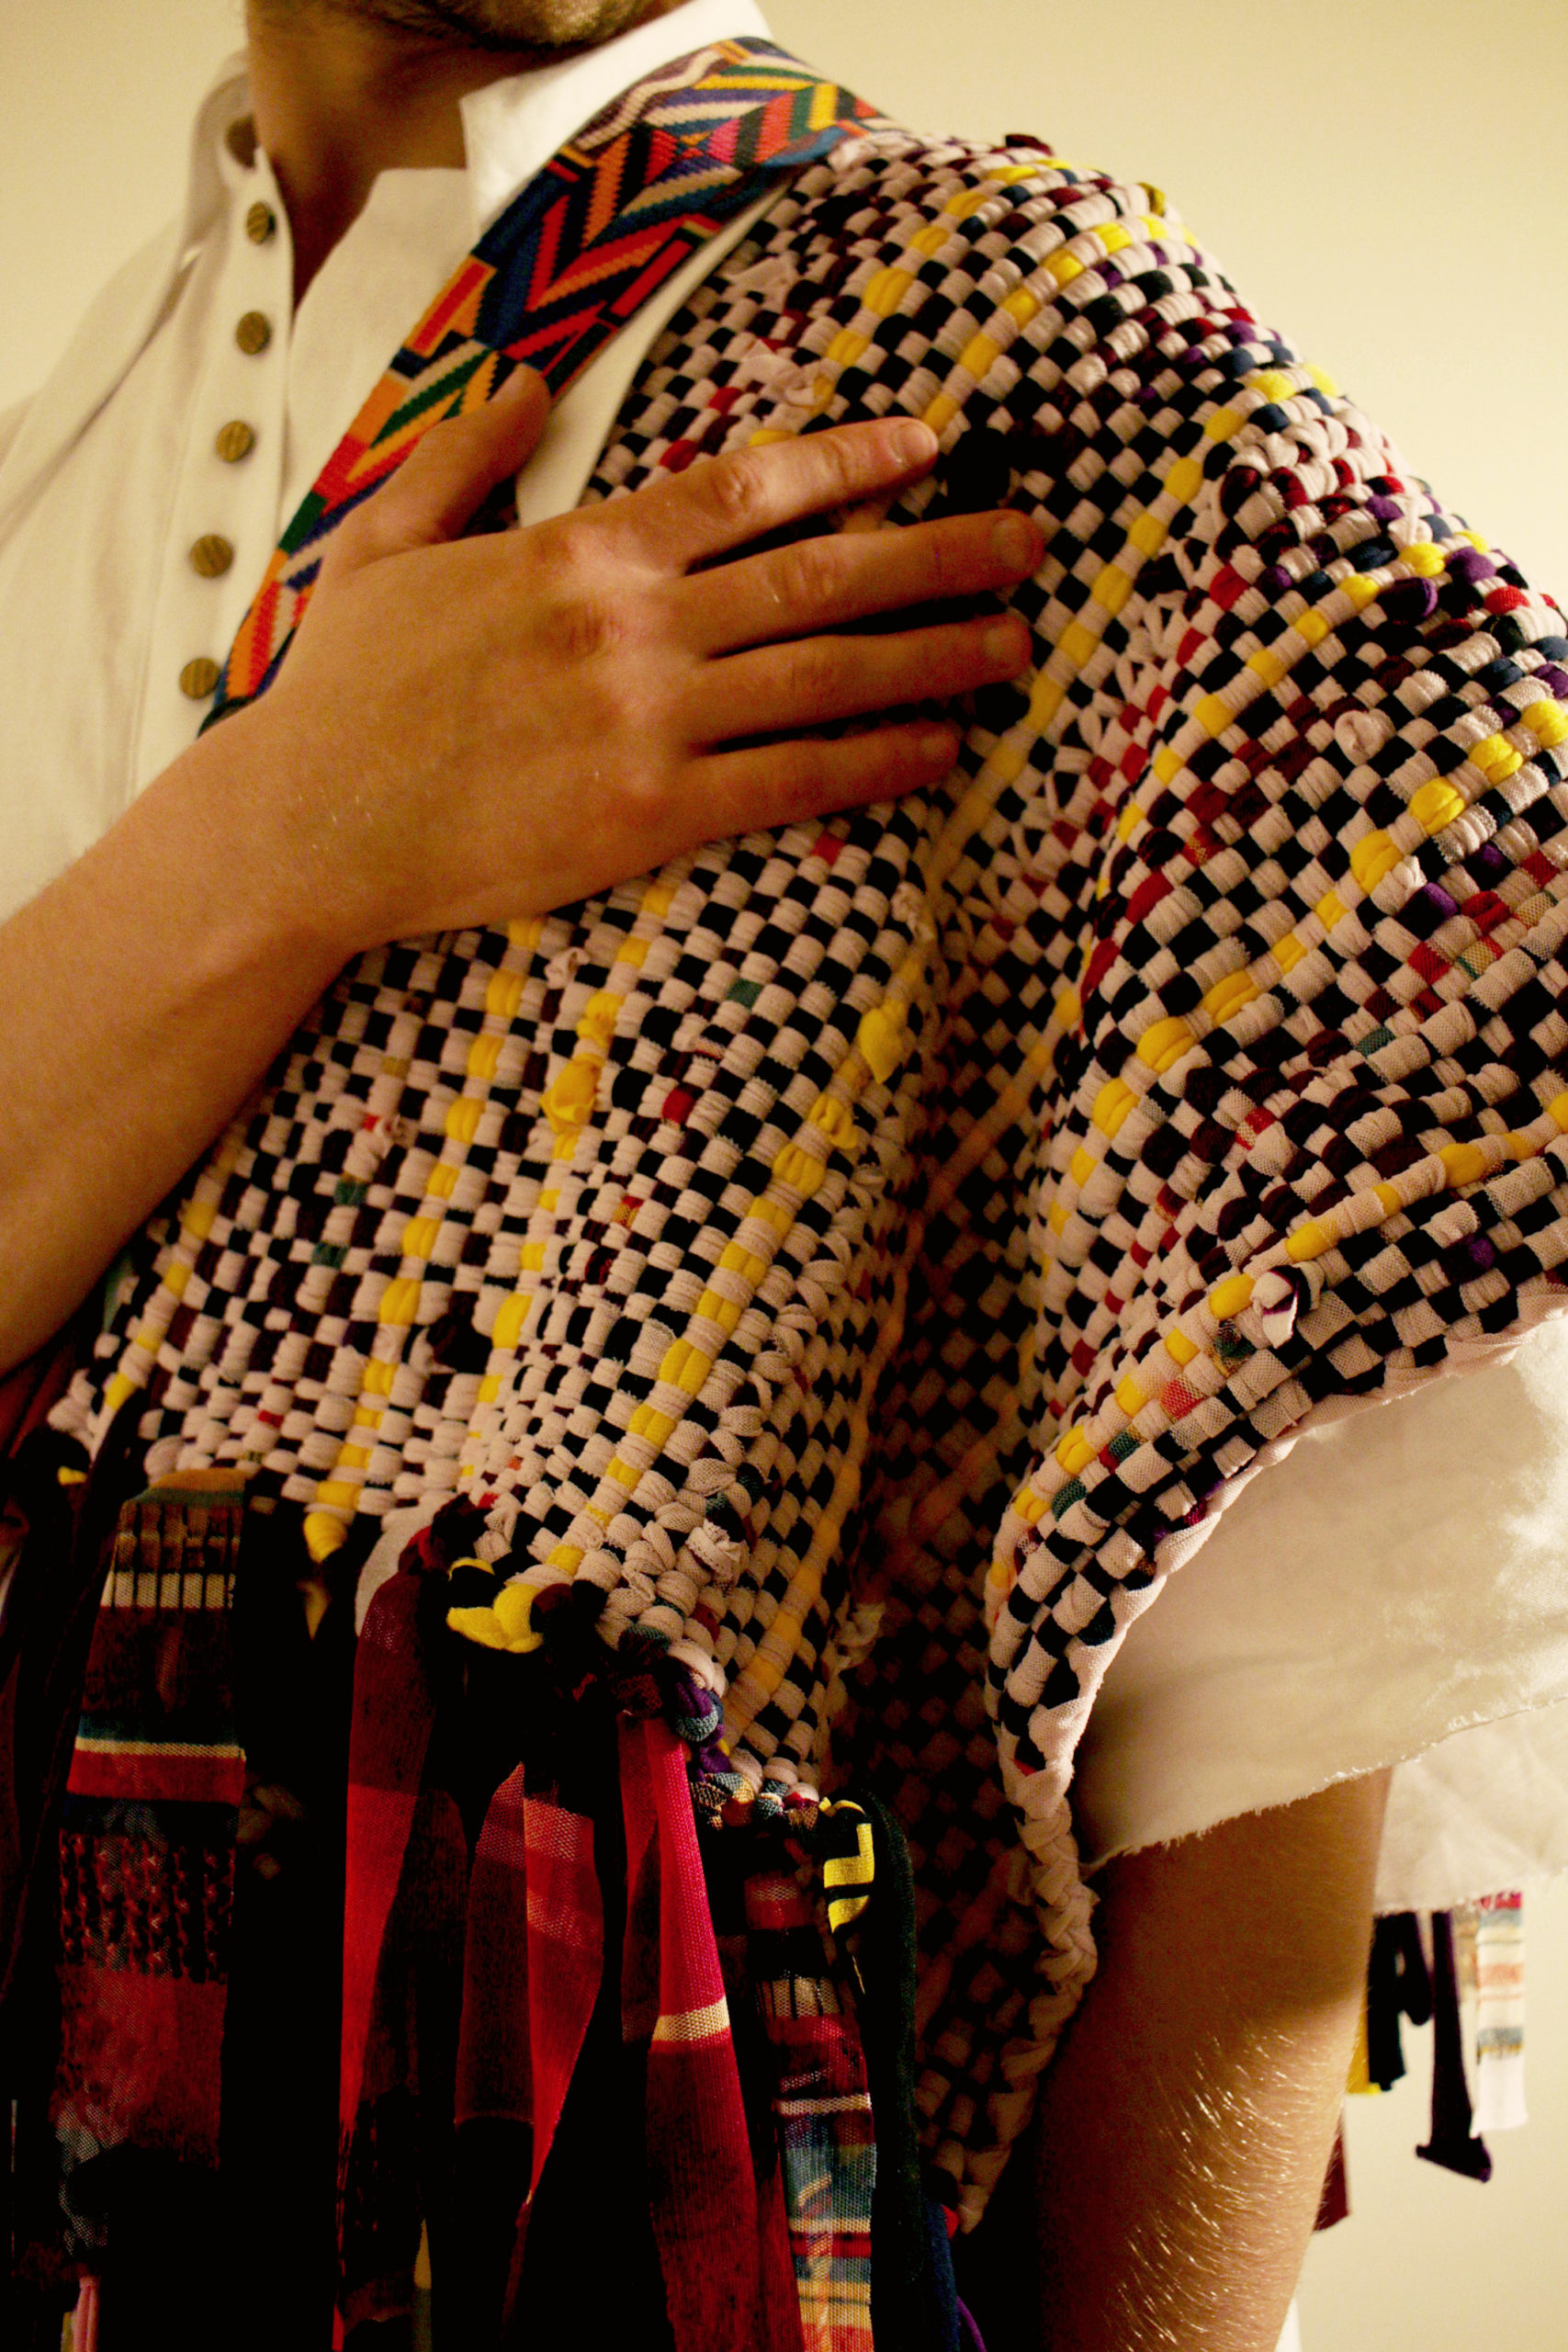
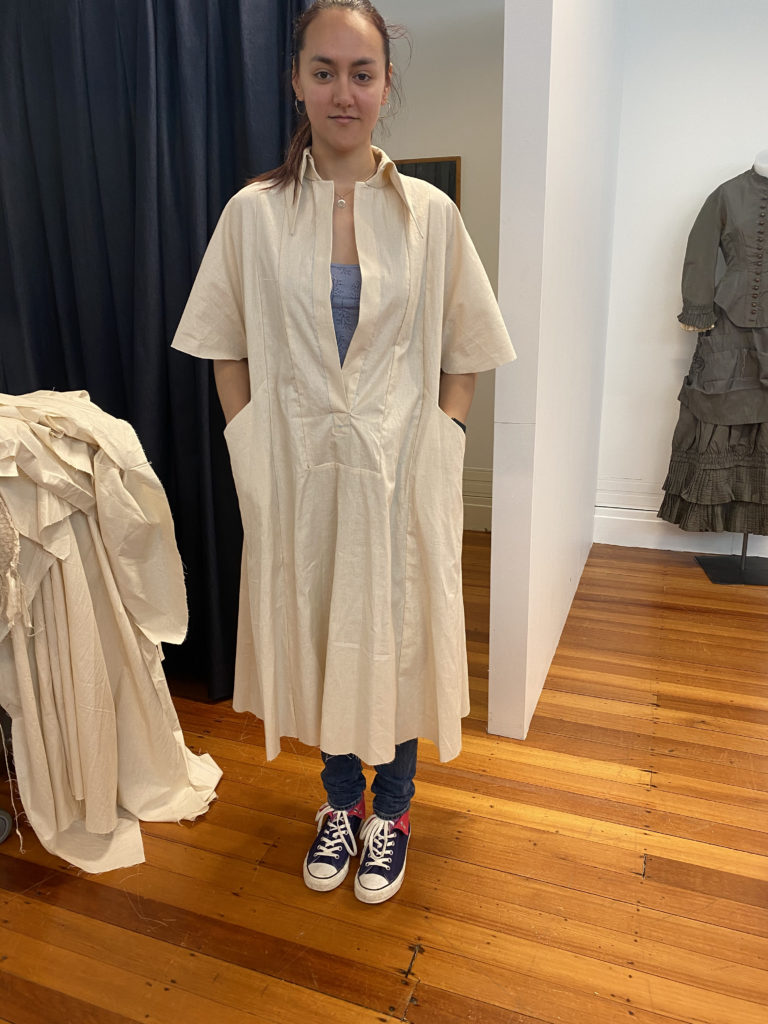
This is when it started to become stressful for me. As my first choice of fabric was too expensive, I had to find an alternative. $42 was just too much when I barely make money and I needed about 10 meters for 3 garments. I looked for linen with a bit of shine to emulate what Pineapple fiber fabric would be like. I learned to just stick with the first instinct and go with it and never decide impulsively. I have always been the worst at decision making, I always needed a second person to talk to. I could have saved a lot of stress, worry and I could have loved the pieces even more so. I do love the pieces now, but the original choice would have made more of an impact. The linen sateen was too lightweight for my liking for this and that would have retained more of the shaping I wanted as opposed to the lightweight linen. I don’t mind the creases, I think that adds to the charm. If I were to do this piece again, I’ll use the silk/linen choice. However, the linen sateen’s saving grace is that the garments felt very casual, which is what I like. The silk/linen fabric would have made the designs closer to a more formal feel, which is often what Filipino garments are used for. This project humbles down these garments so more people wear them on an everyday basis.
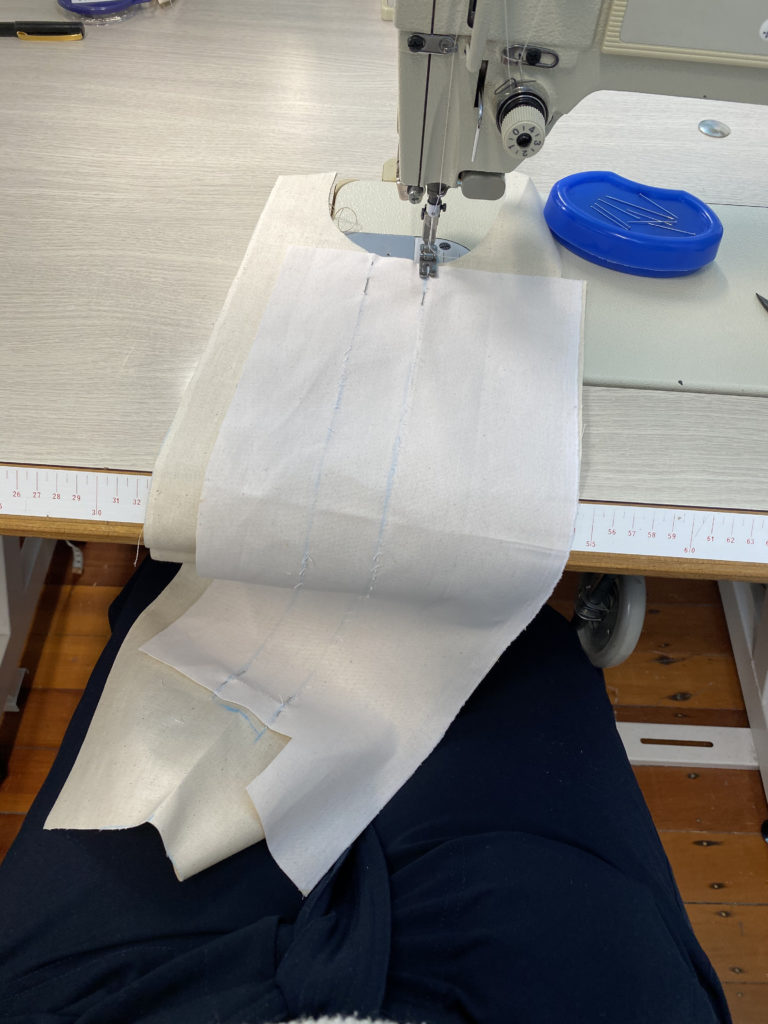
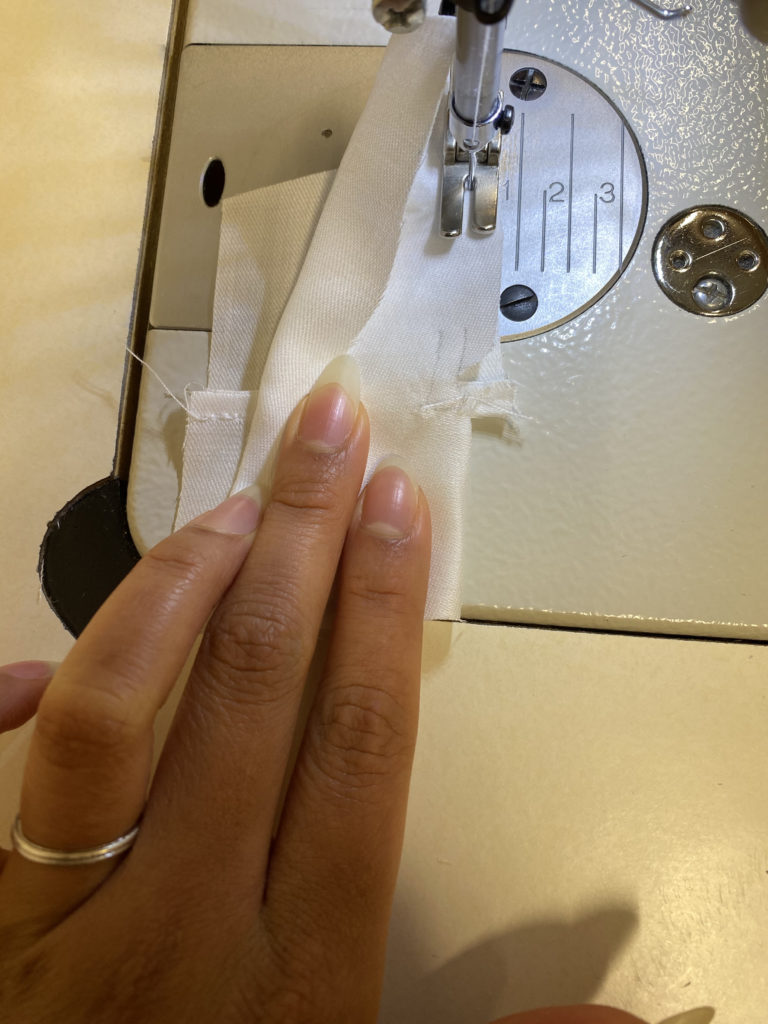
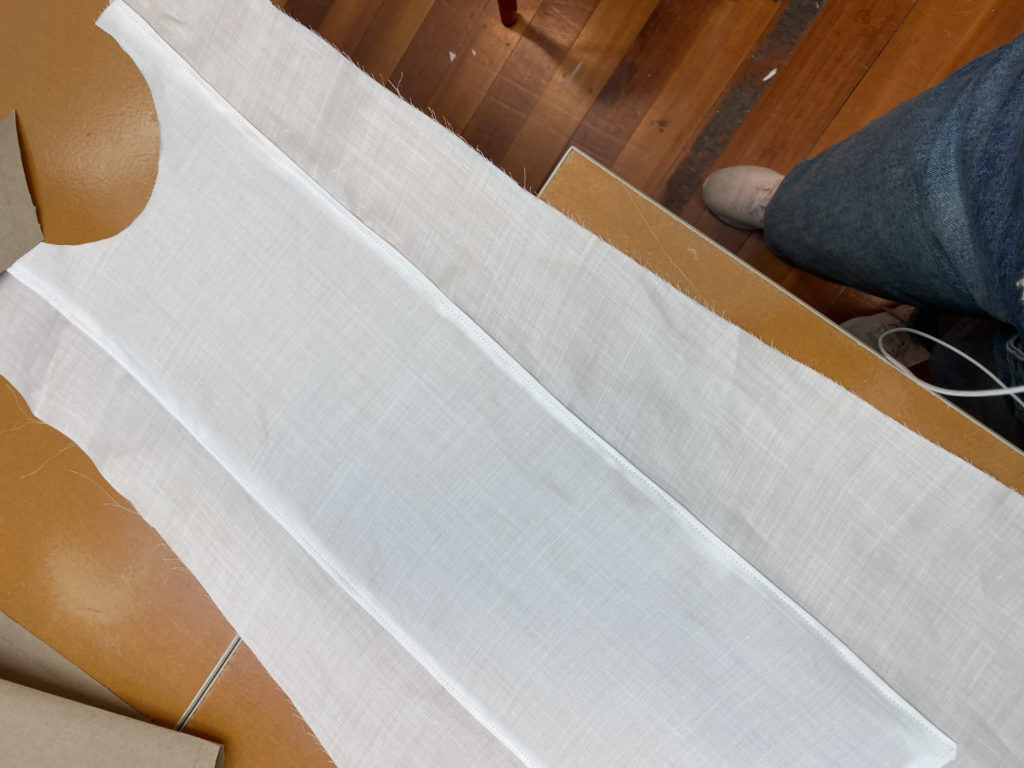
One of the stresses this fabric gave me was the cutting process. Due to time constraints and having about 8 meters of fabric, I wasn’t able to wash the garment. The grainline warped because of how lightweight it is and the amount of creasing it has, the cutting was compromised. I wasn’t sure what to do. I wanted to fuse the whole length of the fabric just to give it stability, but what was the point of buying the fabric if I would have to alter it. I started making the Barong dress when I was informed to fuse my seam allowances. I did that for my Terno dress, however, not for the Barong. I had so much allowance removed from French seaming to redo my seams.
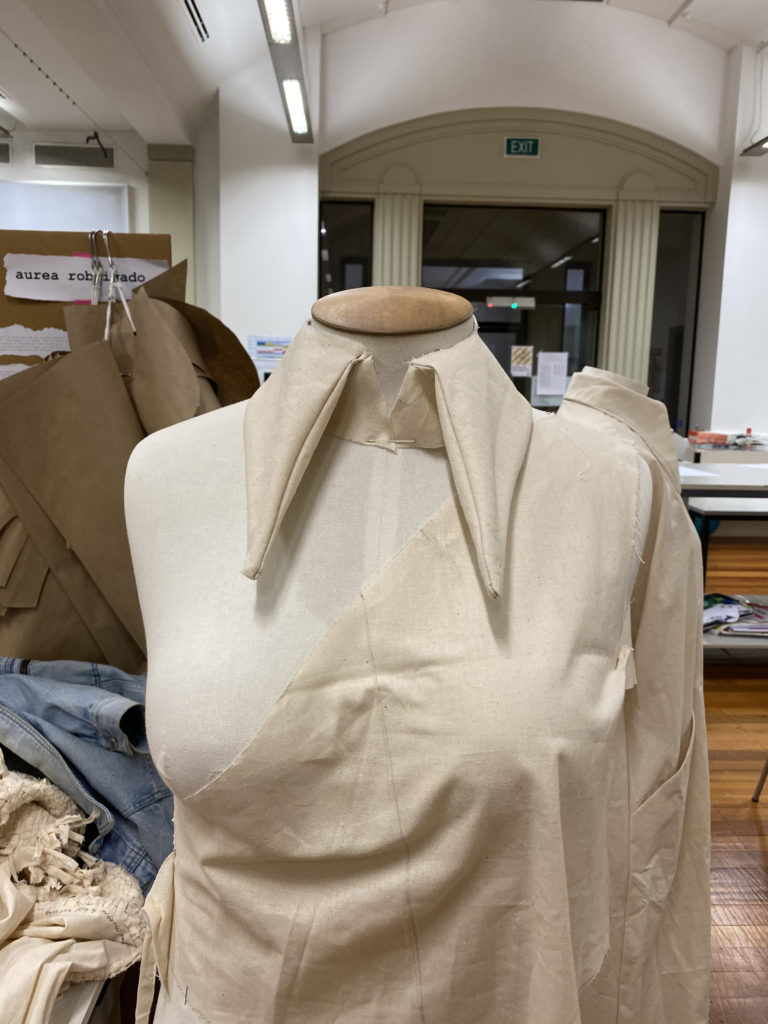
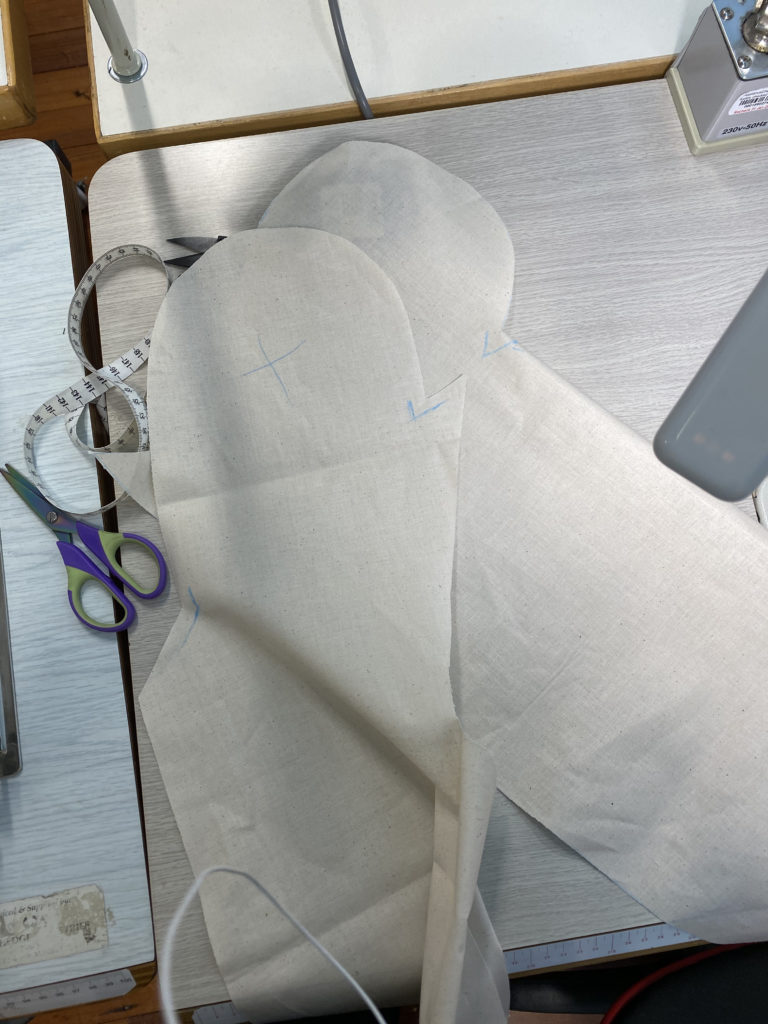
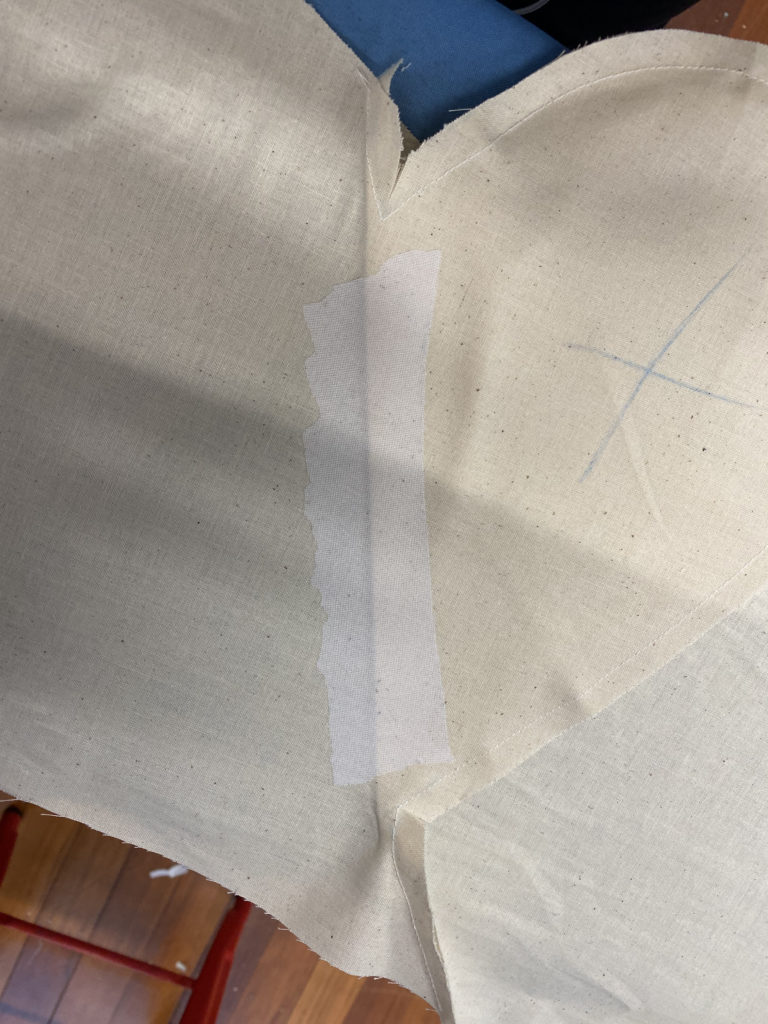
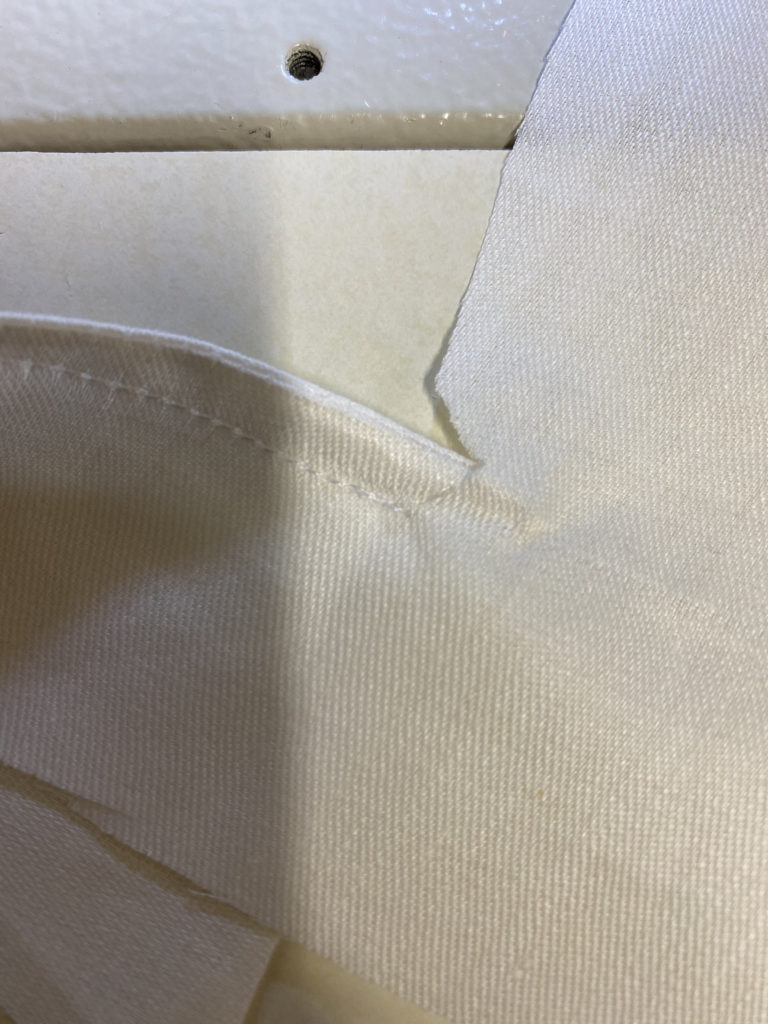
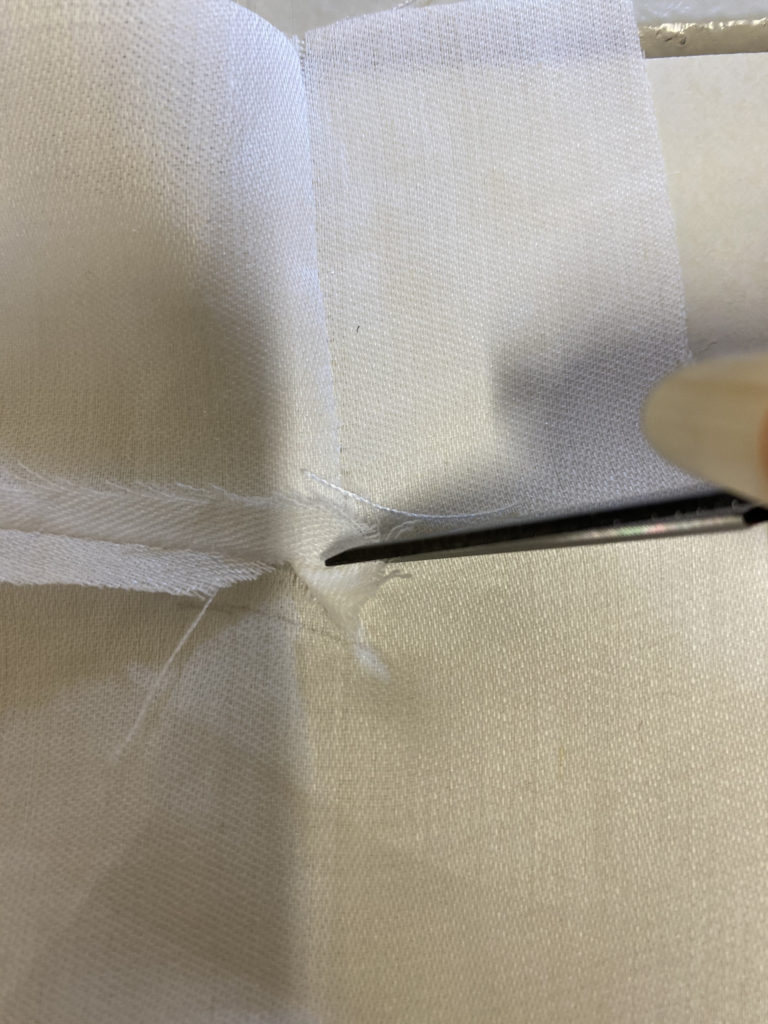
Another mishap was the front panels. I planned, but not trialed french seaming for the right angles and that caused a lot of trouble. I had to ask Claire for another alternative and rescue me from breaking down. Claire suggested a felled seam, which worked out well because it made the right angles prominent and made the design feel more like a barong.
Lastly, adding the facing seams did not meet the seams of the bodice, because of how much the garment stretched during cutting. I had to work with what I’ve got.
PDF Download
I’ve also created a PDF of the patterns for A4 printing at home. This is raw and still needs to have a title page, details page, instructions page, and, ideally, graded. But this is a start of a pdf in the making.
Click to download PDF
Barong Dress

No Comments